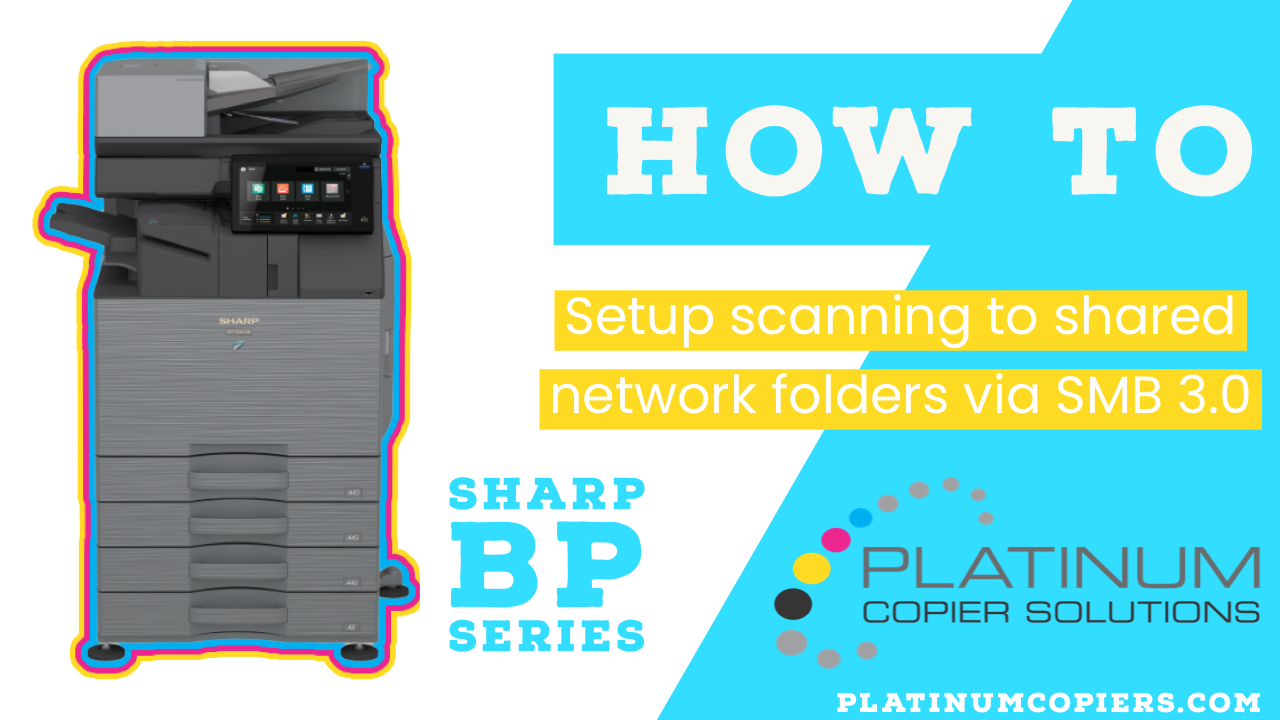
Sharp’s new BP series comes out of the box ready to scan to shared network folders via SMB 3.0. Here are step-by-step instructions on how to set up your scanning destinations.
- Create or choose a shared network folder you want to scan to, and copy the folder path.
- Open the device web page by typing the IP address of the printer into a web browser.
- Click the Address Book tab
- Give the destination a name, usually the User or Department name
- Scroll down and change the type tap from Email to Network Folder
- Paste the folder path into the Folder Path field.
- Check the Change Password box then enter your domain username and password
- Click Submit at the top or bottom of the page
- Test for success!
Sharp BP Series Models these Instructions Pertain To:
BP-70C31, BP-70C36, BP-70C45, BP-50C26, BP-50C31, BP-50C36, BP-50C45, BP-70C55, BP-70C65, BP-50C55, BP-50C65, BP-50M26, BP-50M31, BP-50M36, BP-50M45, BP-50M55, BP-50M65, BP-70M31, BP-70M36, BP-70M45, BP-70M55, BP-70M65


Can this work with SharePoint paths? Where is that documentation?