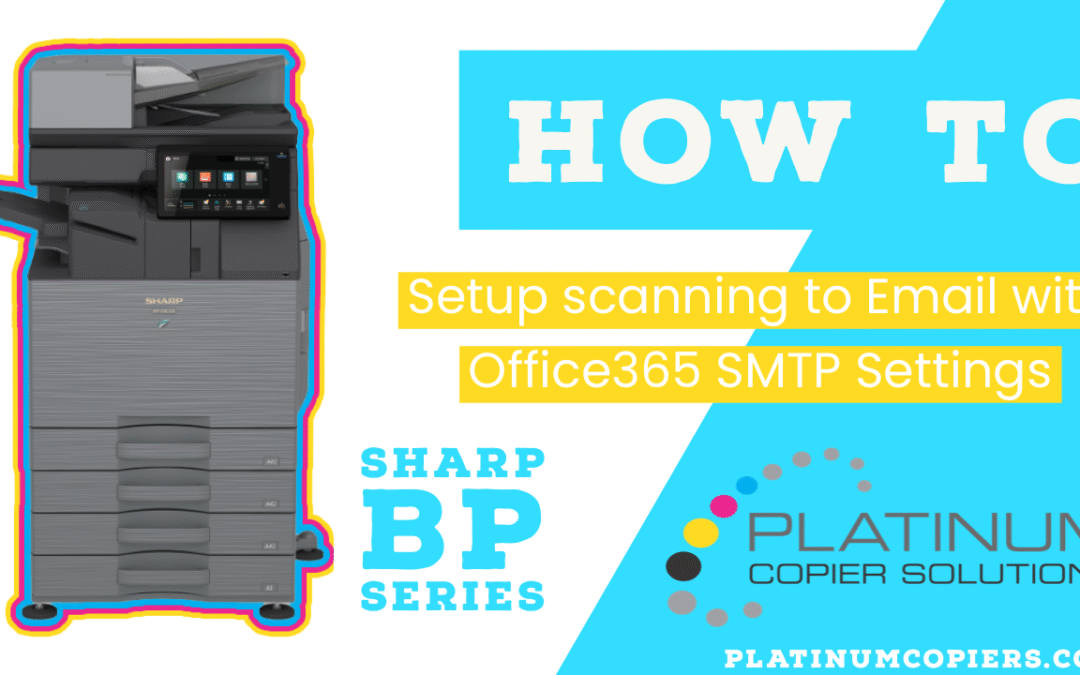
Microsoft Office 365 SMTP Settings in Sharp GUI
Office365 is quickly becoming the most popular email solutions, so we wanted to make sure you had the instructions you needed to configure your Sharp BP Series Multifunction copier to scan to your email using Office365 SMTP Settings.
- From the panel – touch Settings
- Touch Status Tab
- Touch Network Settings on the left menu
- Scroll down to view IPv4 Address, jot that down and take it to your computer
- Open a web browser and type the IPv4 address into the address bar and hit enter to open the Sharp web GUI
- Click Administrator Login button in the top-right corner
- Type your admin password in, click Login
- Click System Settings Tab
- Click Network Settings Button
- Enter your DNS settings (see video on how to view your DNS Settings)
- Office 365 SMTP Settings
- SMTP Server – smtp.office365.com
- Port number – 587
- Enter a valid email address for the Reply-To address
- Enable SSL/TLS
- Enable SMTP Authentication
- Check the Change Password box and enter one of your Office365 email addresses and password into the authentication area.
- Click Submit at the top or the bottom of the Network Quick Settings page.
Sharp BP Models these instructions pertain to:
BP-70C31, BP-70C36, BP-70C45, BP-50C26, BP-50C31, BP-50C36, BP-50C45, BP-70C55, BP-70C65, BP-50C55, BP-50C65, BP-50M26, BP-50M31, BP-50M36, BP-50M45, BP-50M55, BP-50M65, BP-70M31, BP-70M36, BP-70M45, BP-70M55, BP-70M65
In the market to purchase or lease a new copier?
Contact us today for a tailormade quote for your business! Click the button below to fill out a quick quote request form. We specialize in the Houston market but can ship Sharp systems nationwide with great service within our Sharp dealer network.