- Open the web interface by typing the IP address of the printer into a web browser
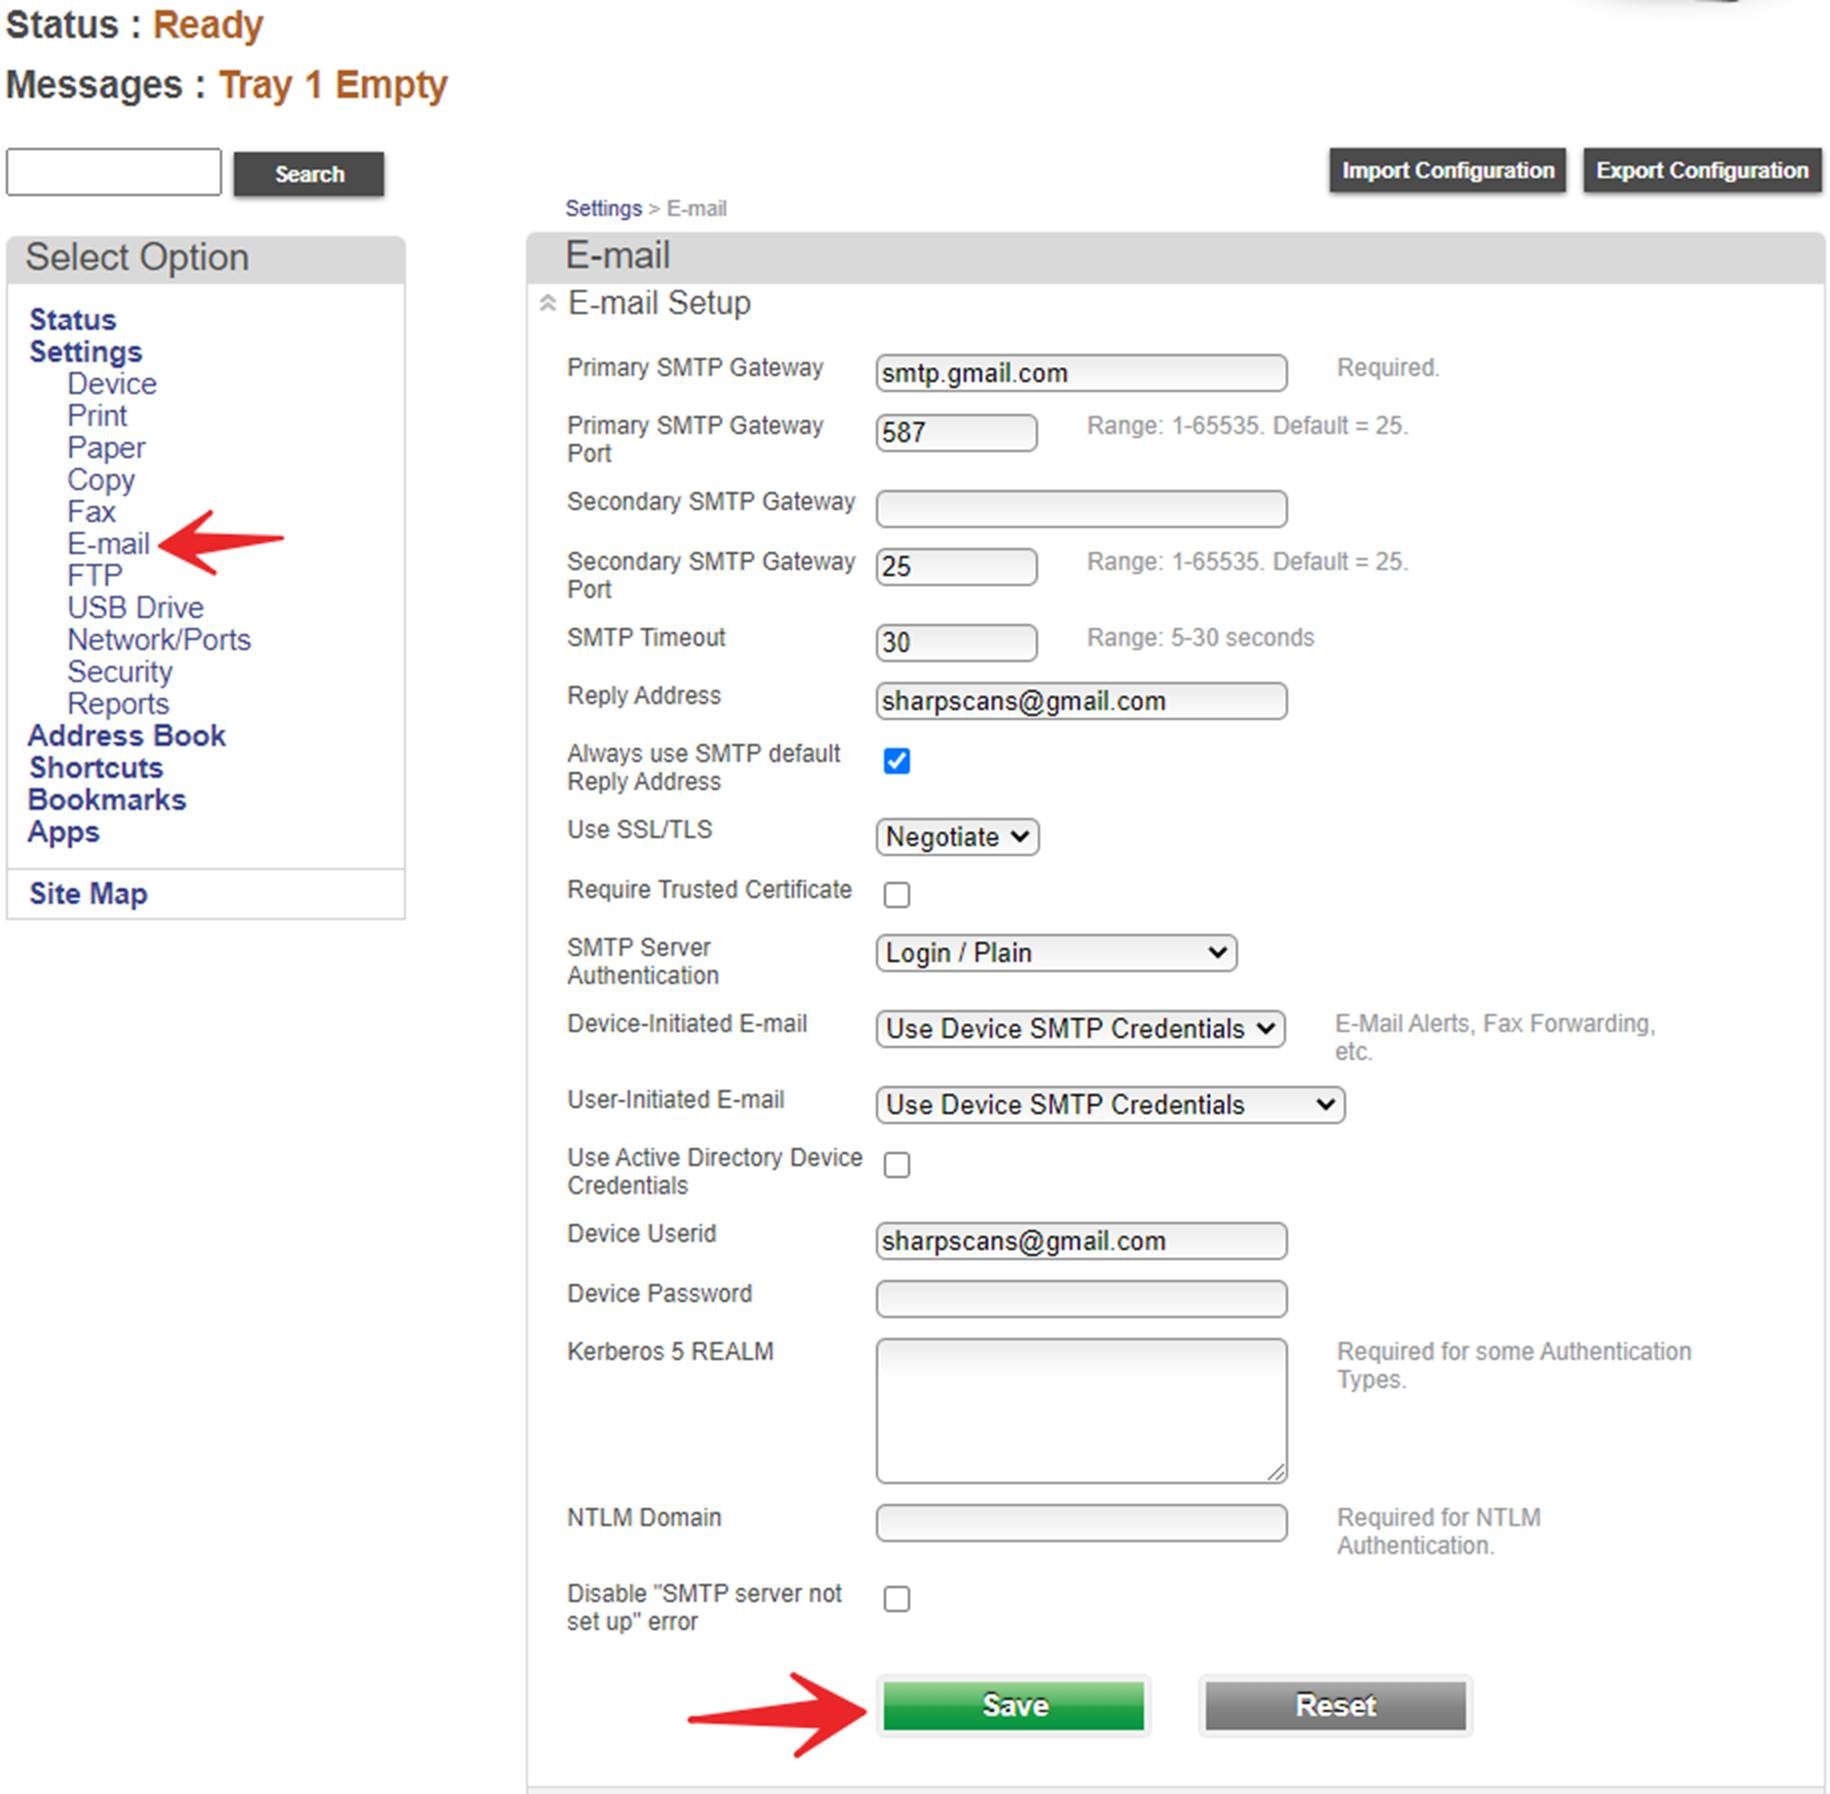
- On the left menu, click Email then fill in your SMTP settings
-
- for Gmail use SMTP.gmail.com, port 587, enter YOUR GMAIL ADDRESS as the reply address
- For Office365 use smtp.office365.com, port 587, enter any email address from your domain as the reply address
- For all servers requiring SSL, set the Use SSL/TLS to Negotiate
- Set SMTP server authentication to Login/Plain
- Set Device-initiated email and User-Initiated Email to Use Device SMTP Credentials
- Device Userid will be your email address used for authentication
- Device Password will be the password for the email address used in the Device Userid
- Click Save
-
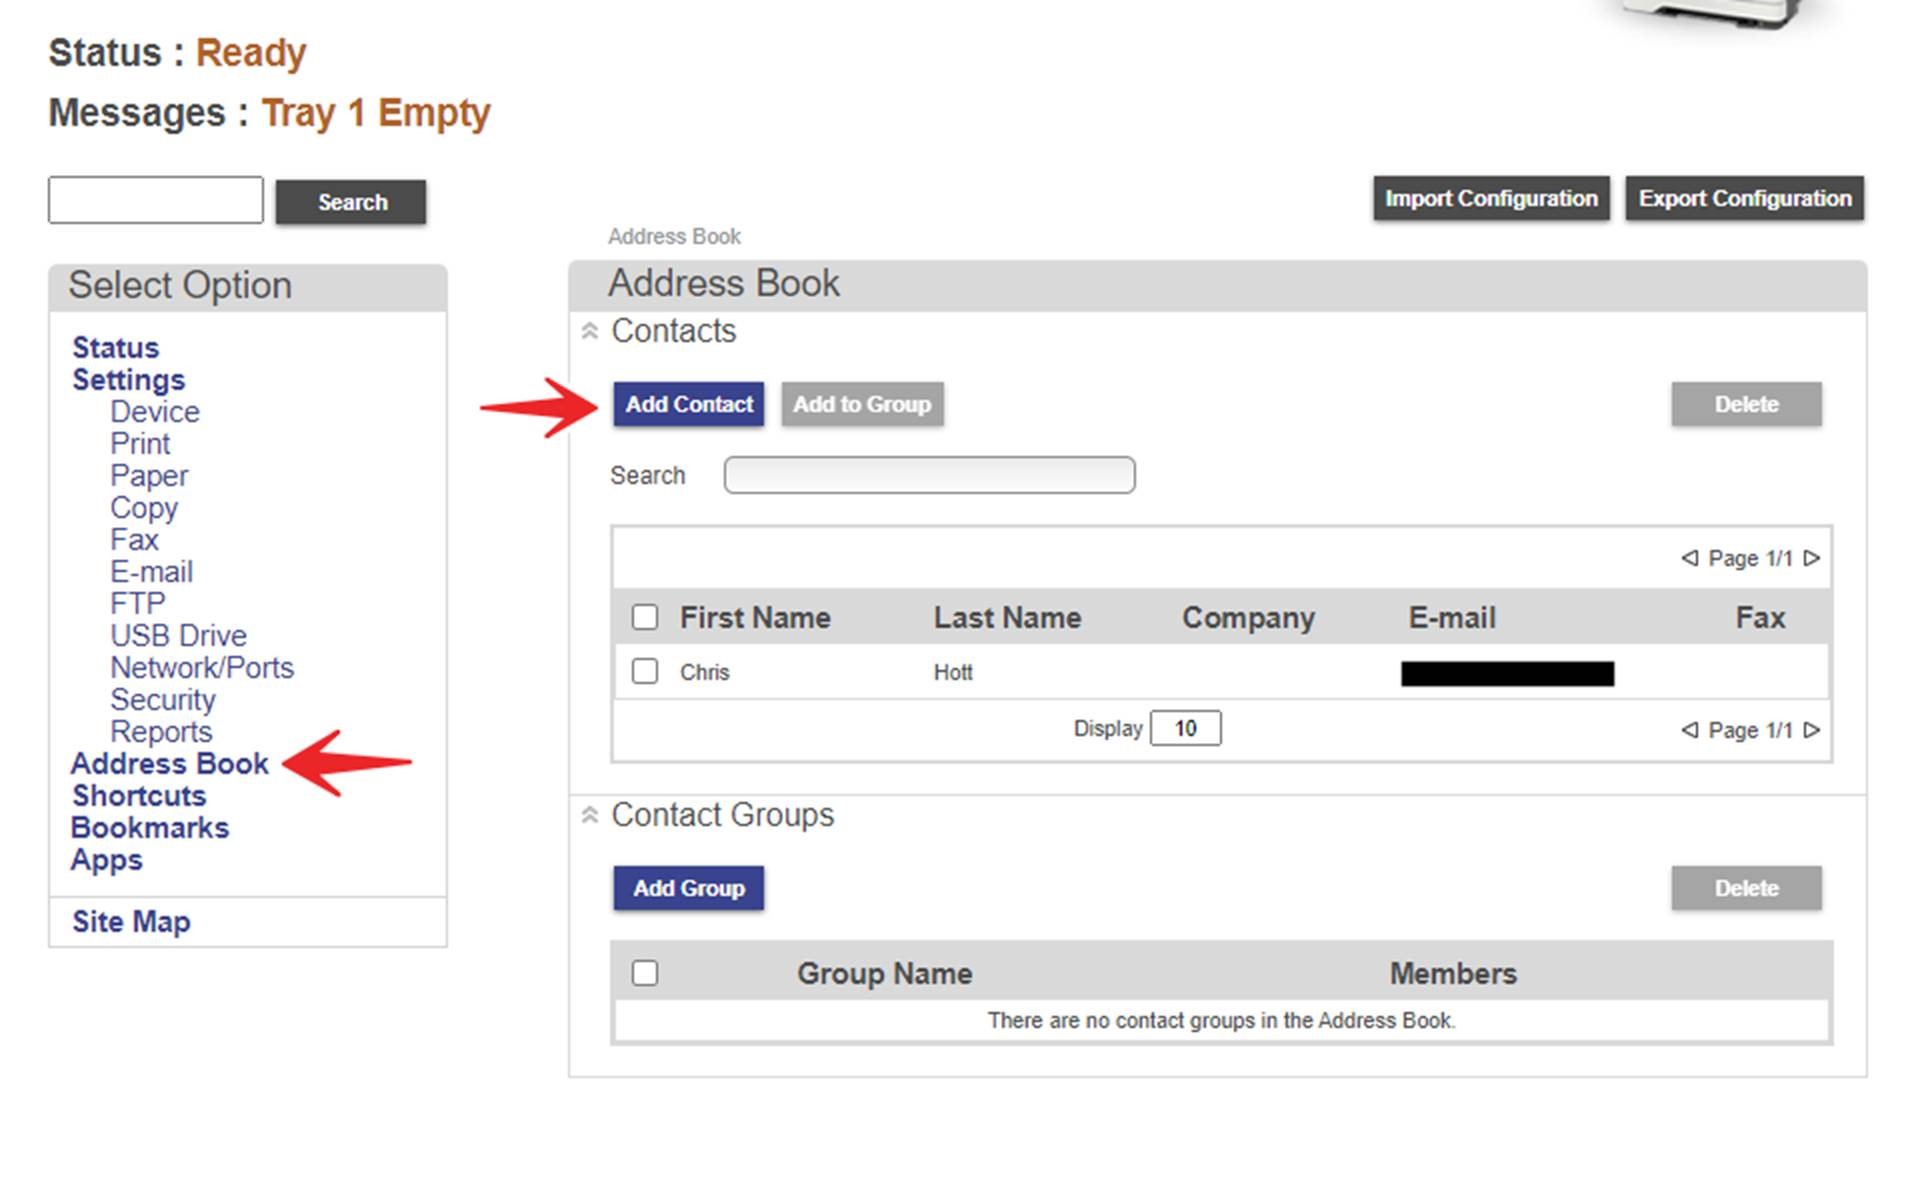
- Click Address Book on the left menu, then click Add Contact
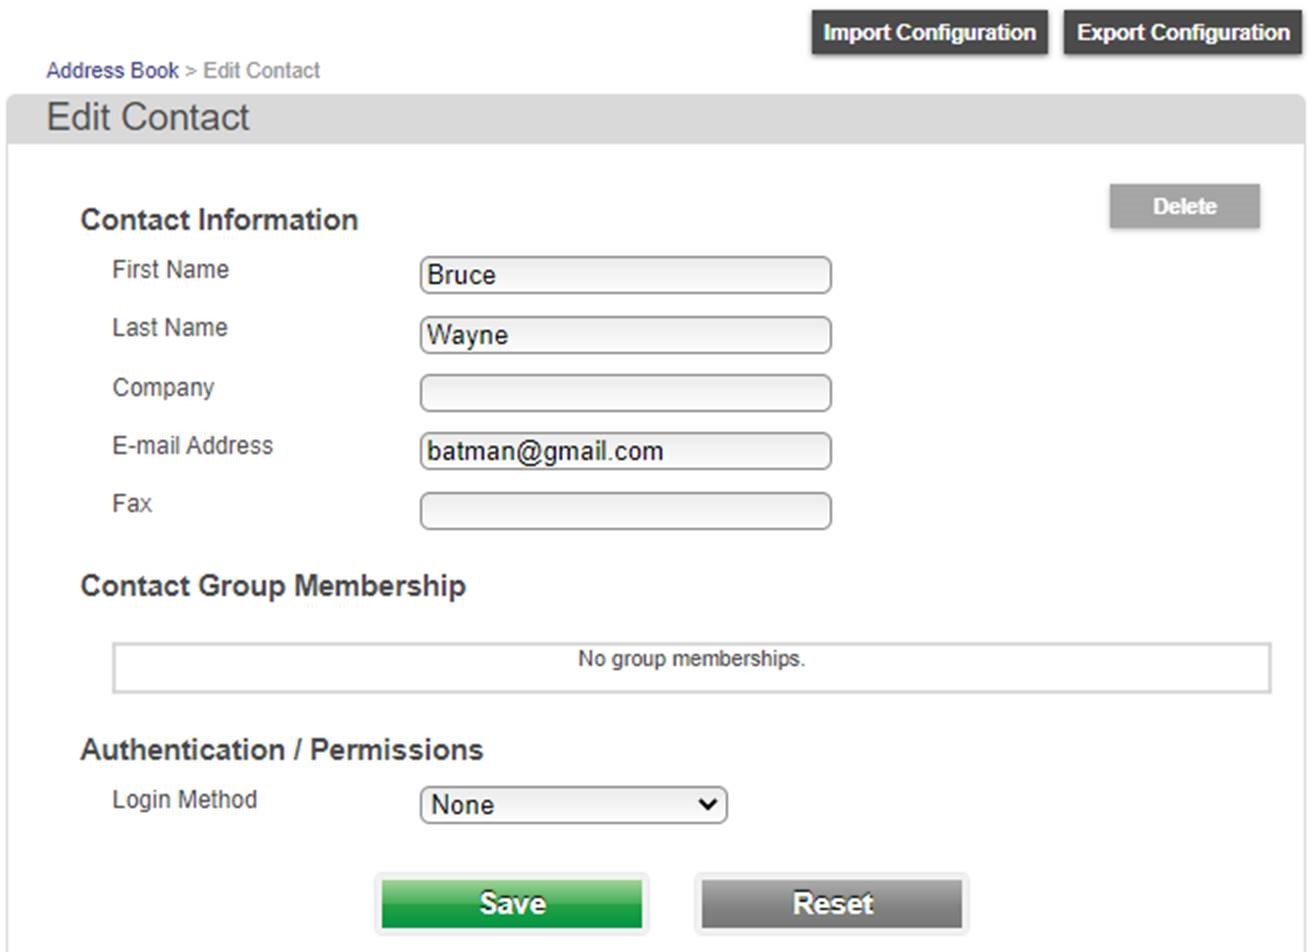
- Enter the name and email address as preferred, then click Save
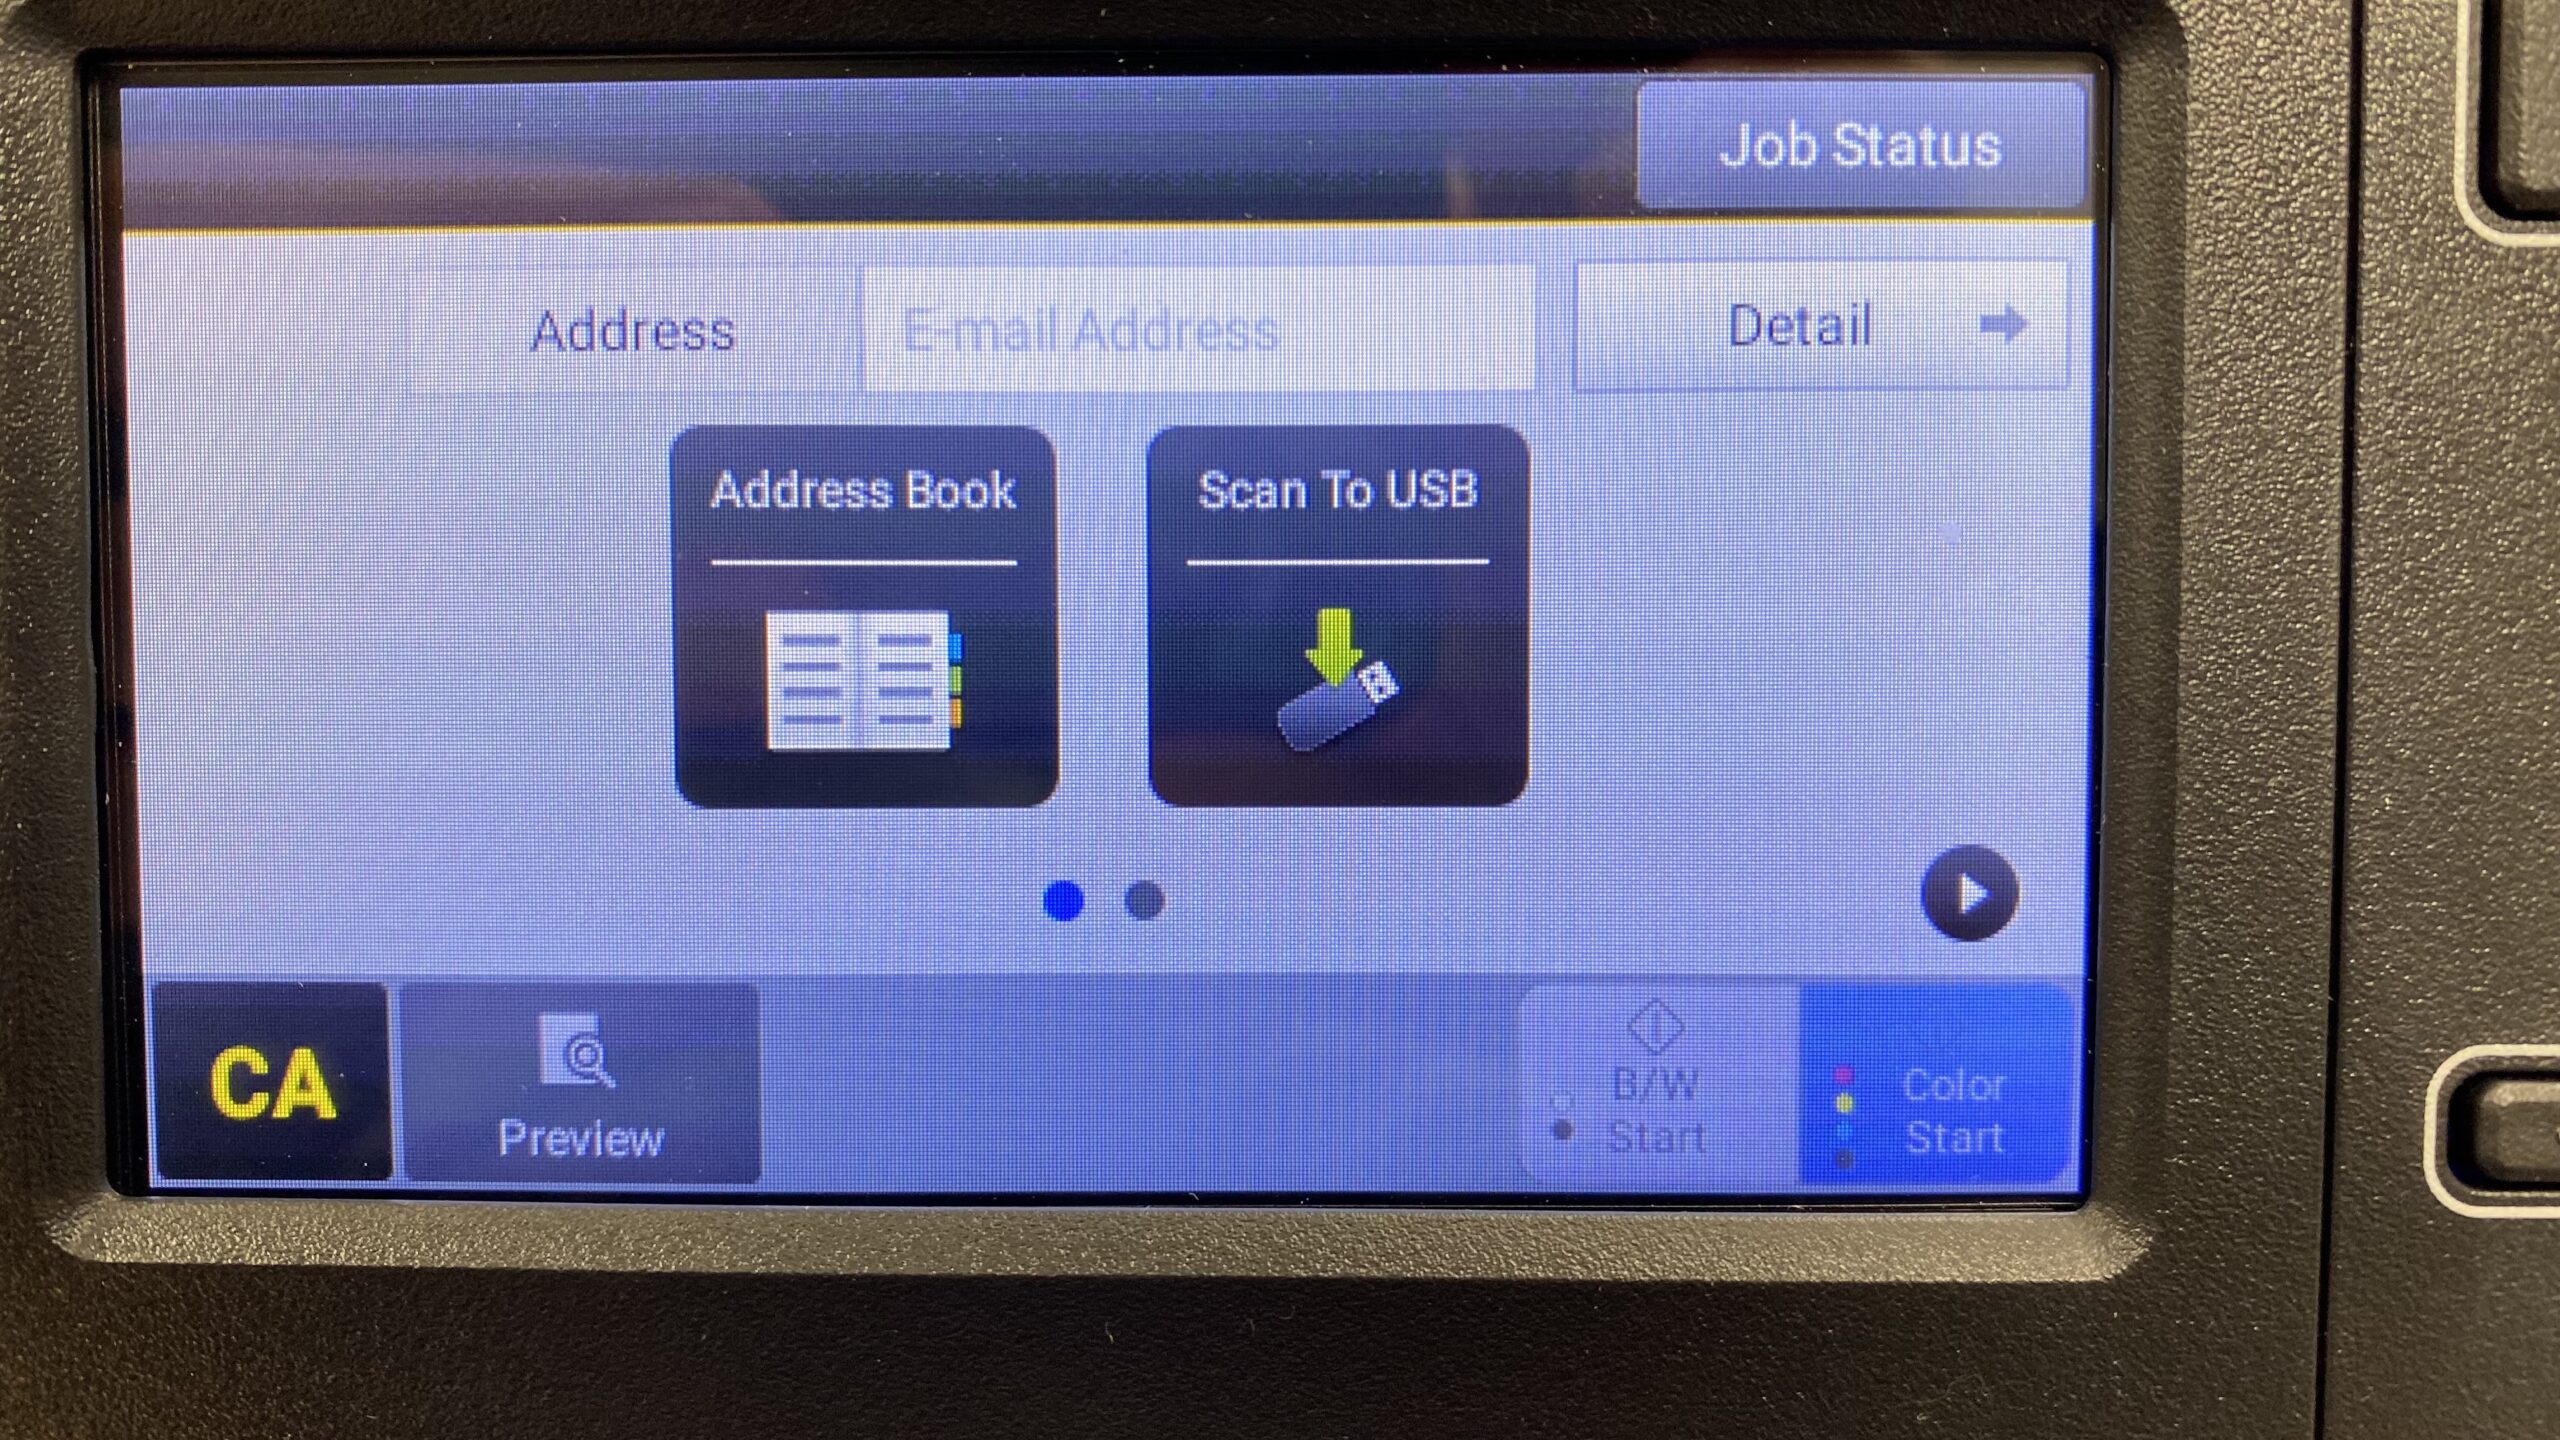
- To scan from the panel, touch Easy Scan
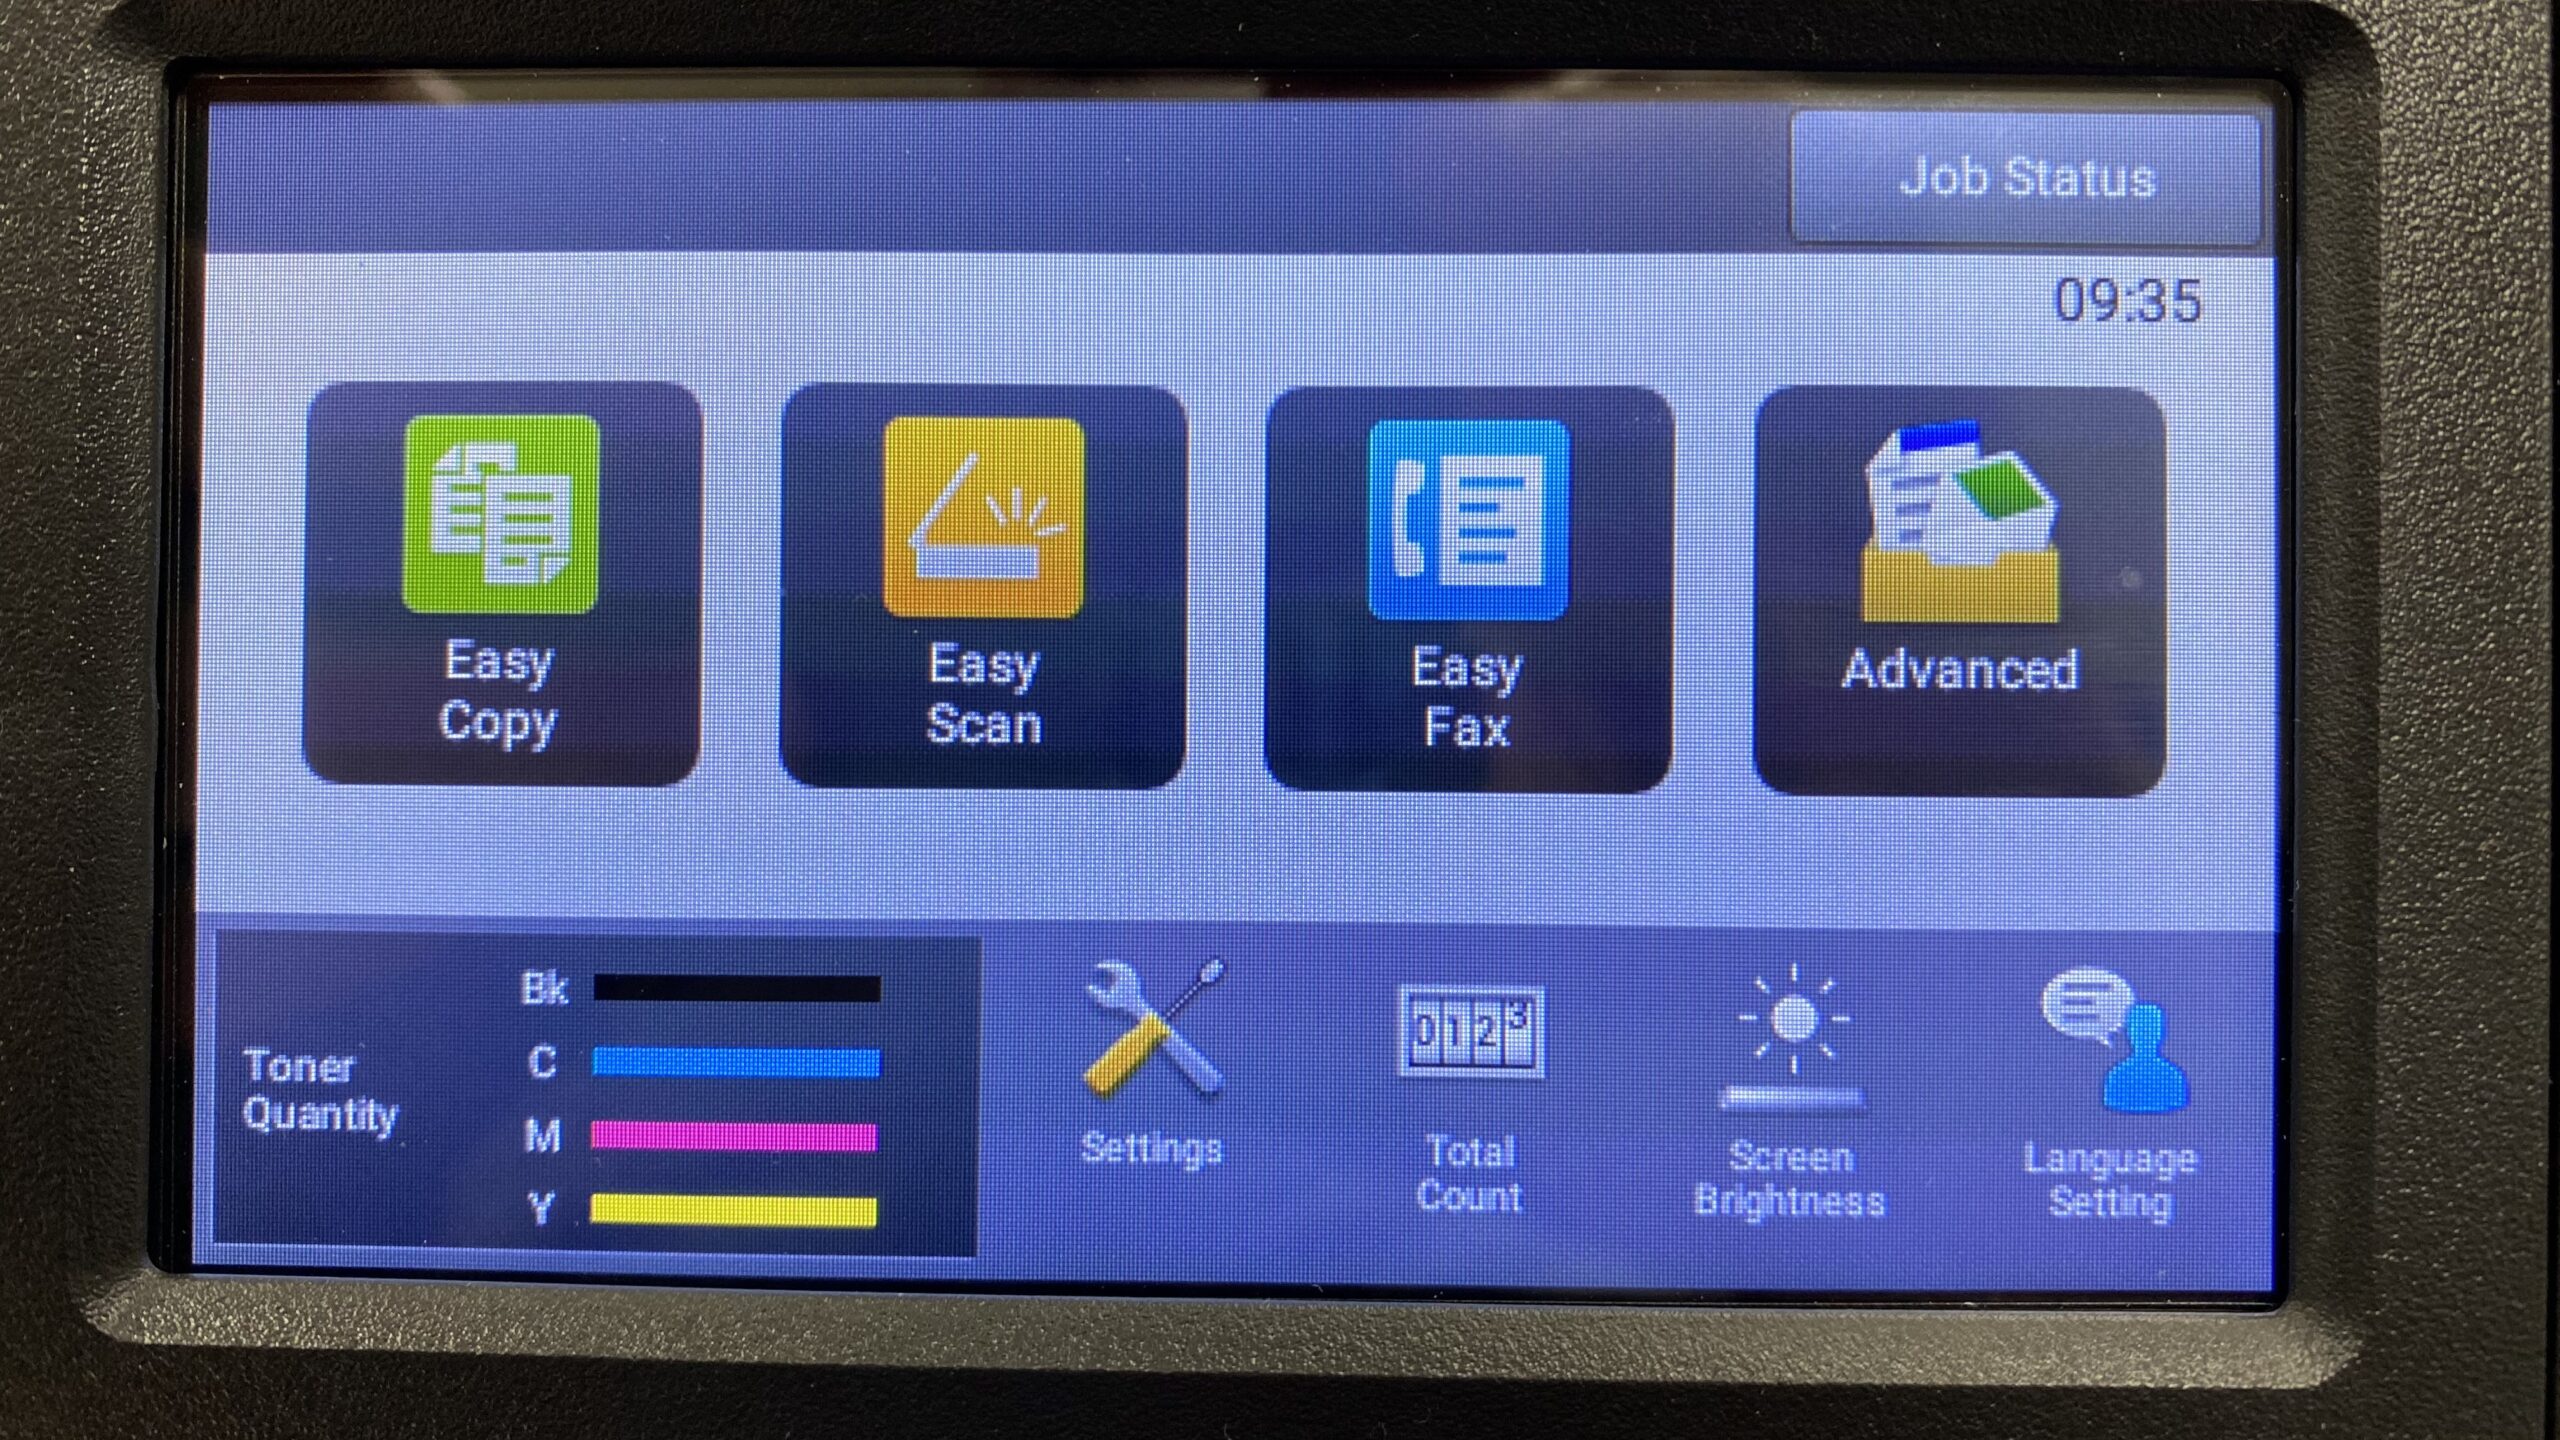
- Touch Address Book
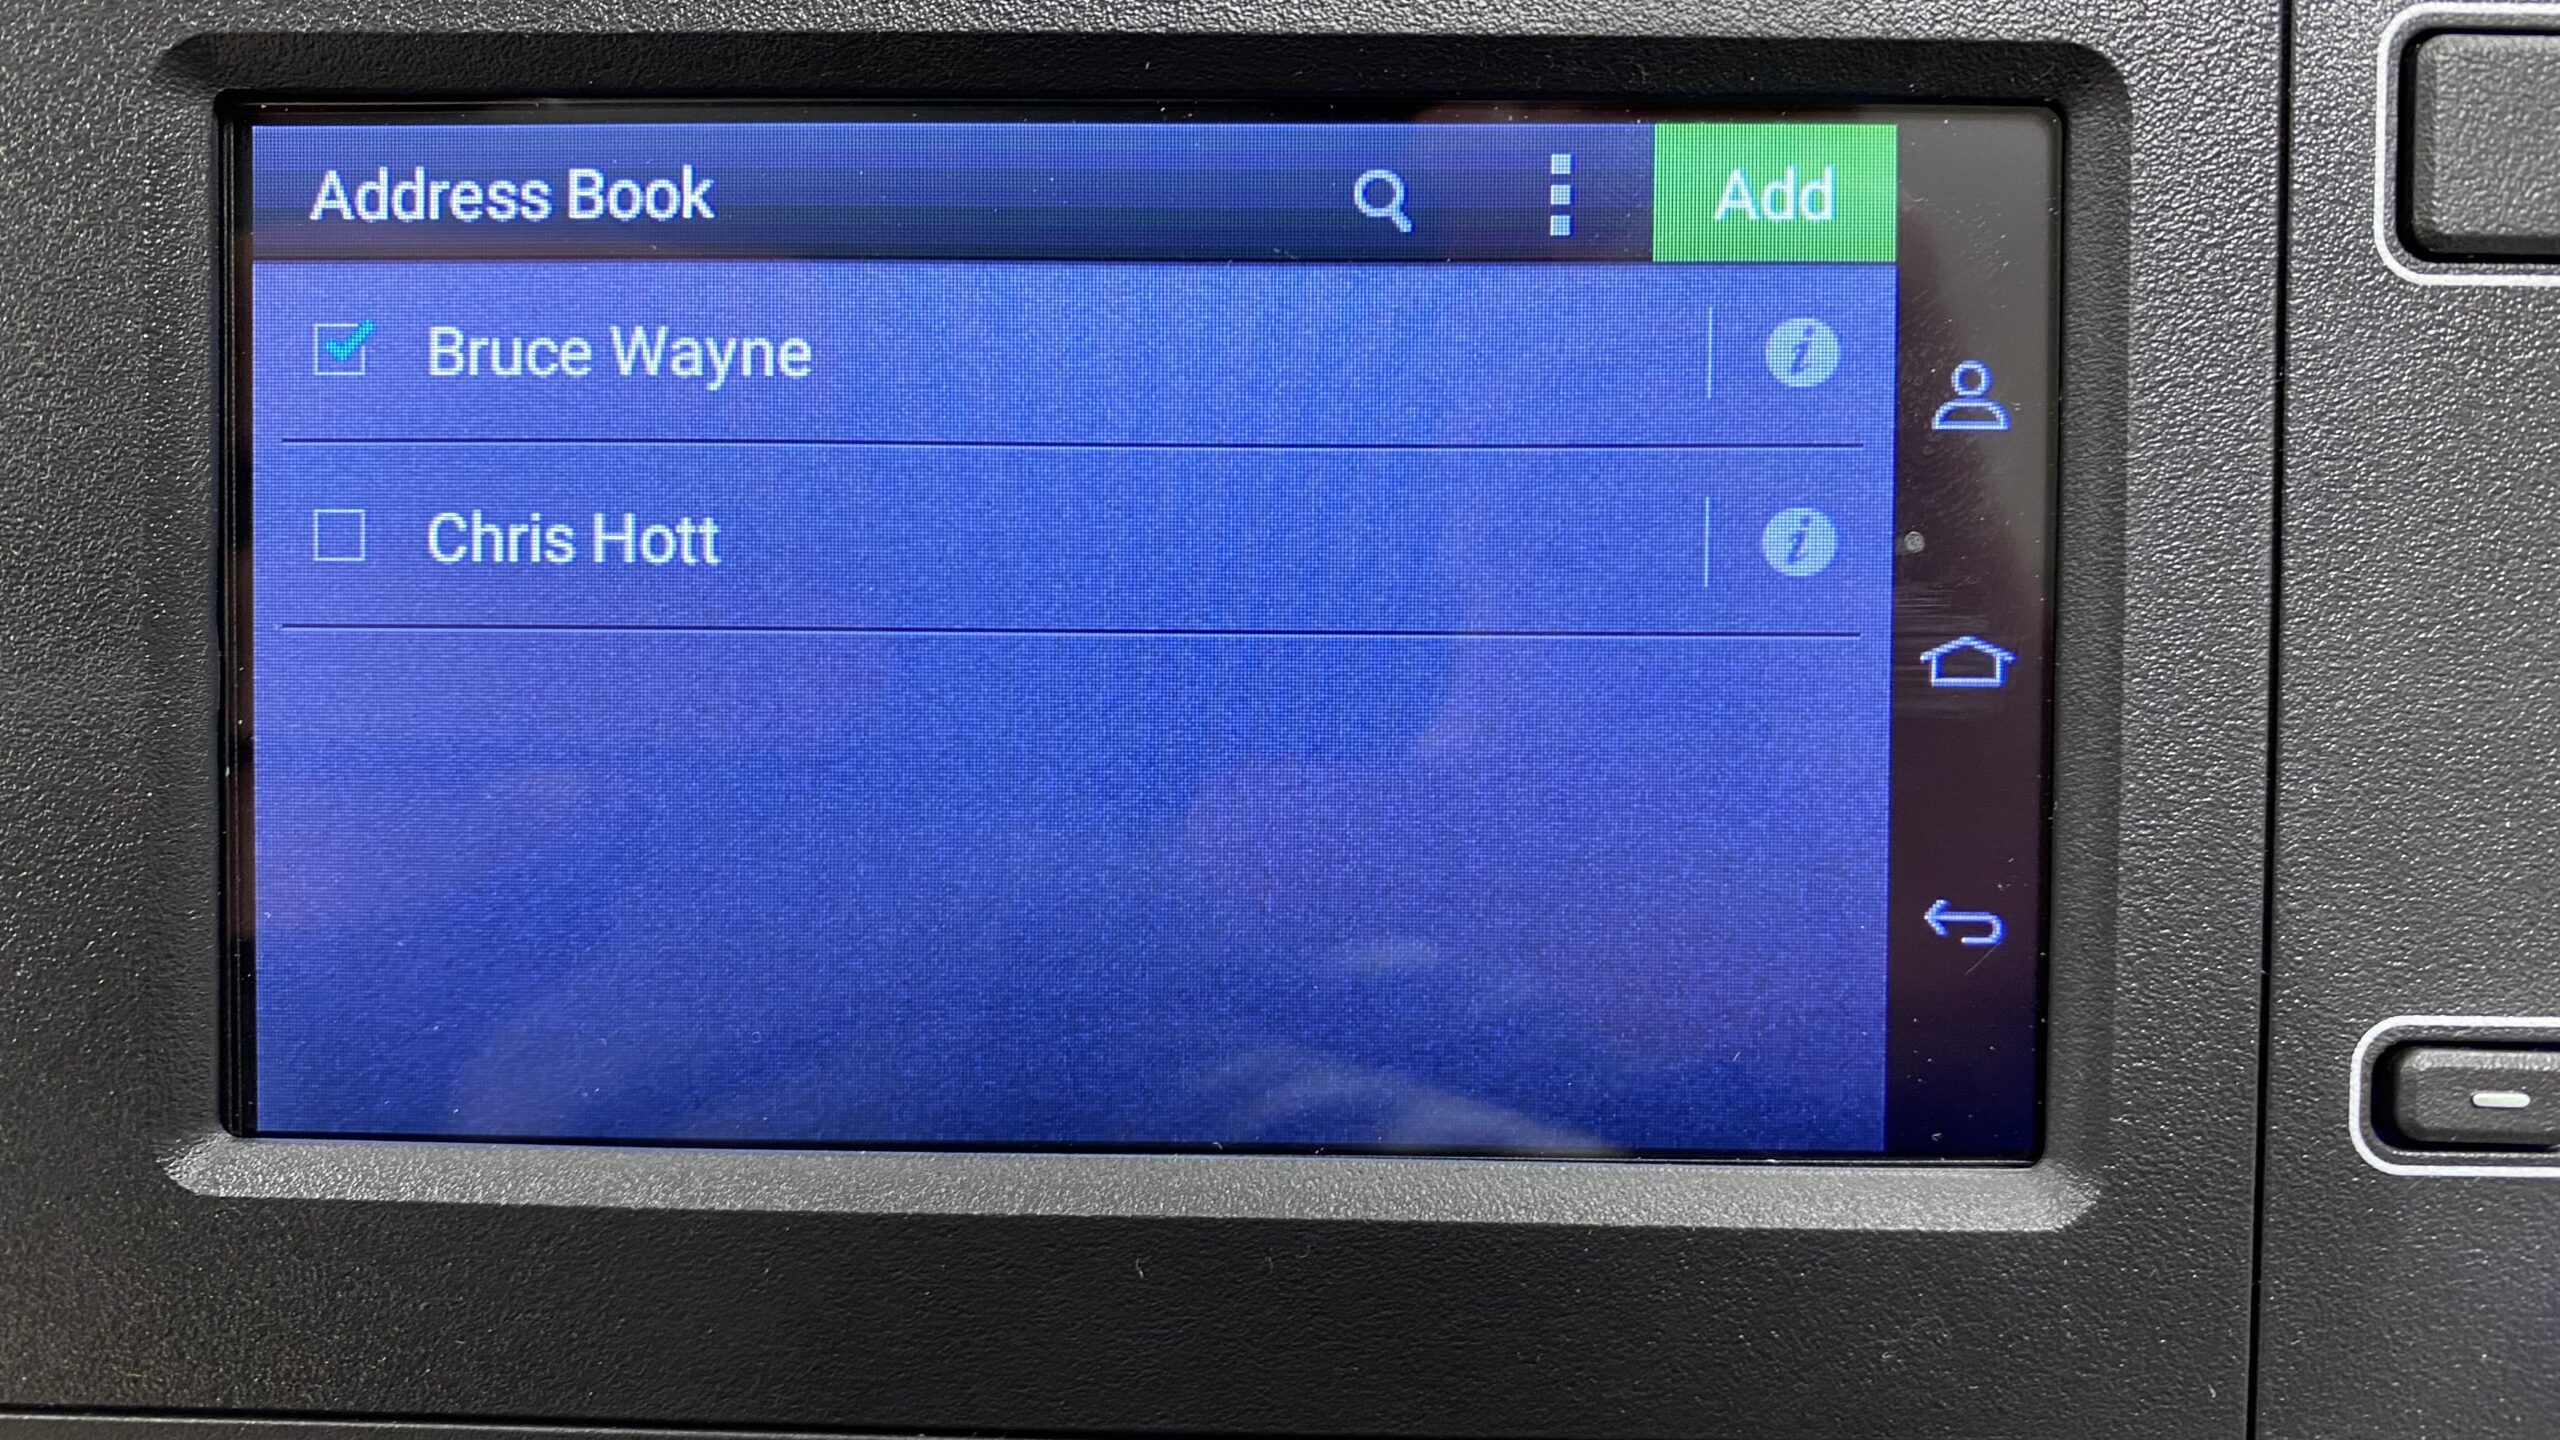
- Check the email addresses you want to scan to, then touch Add
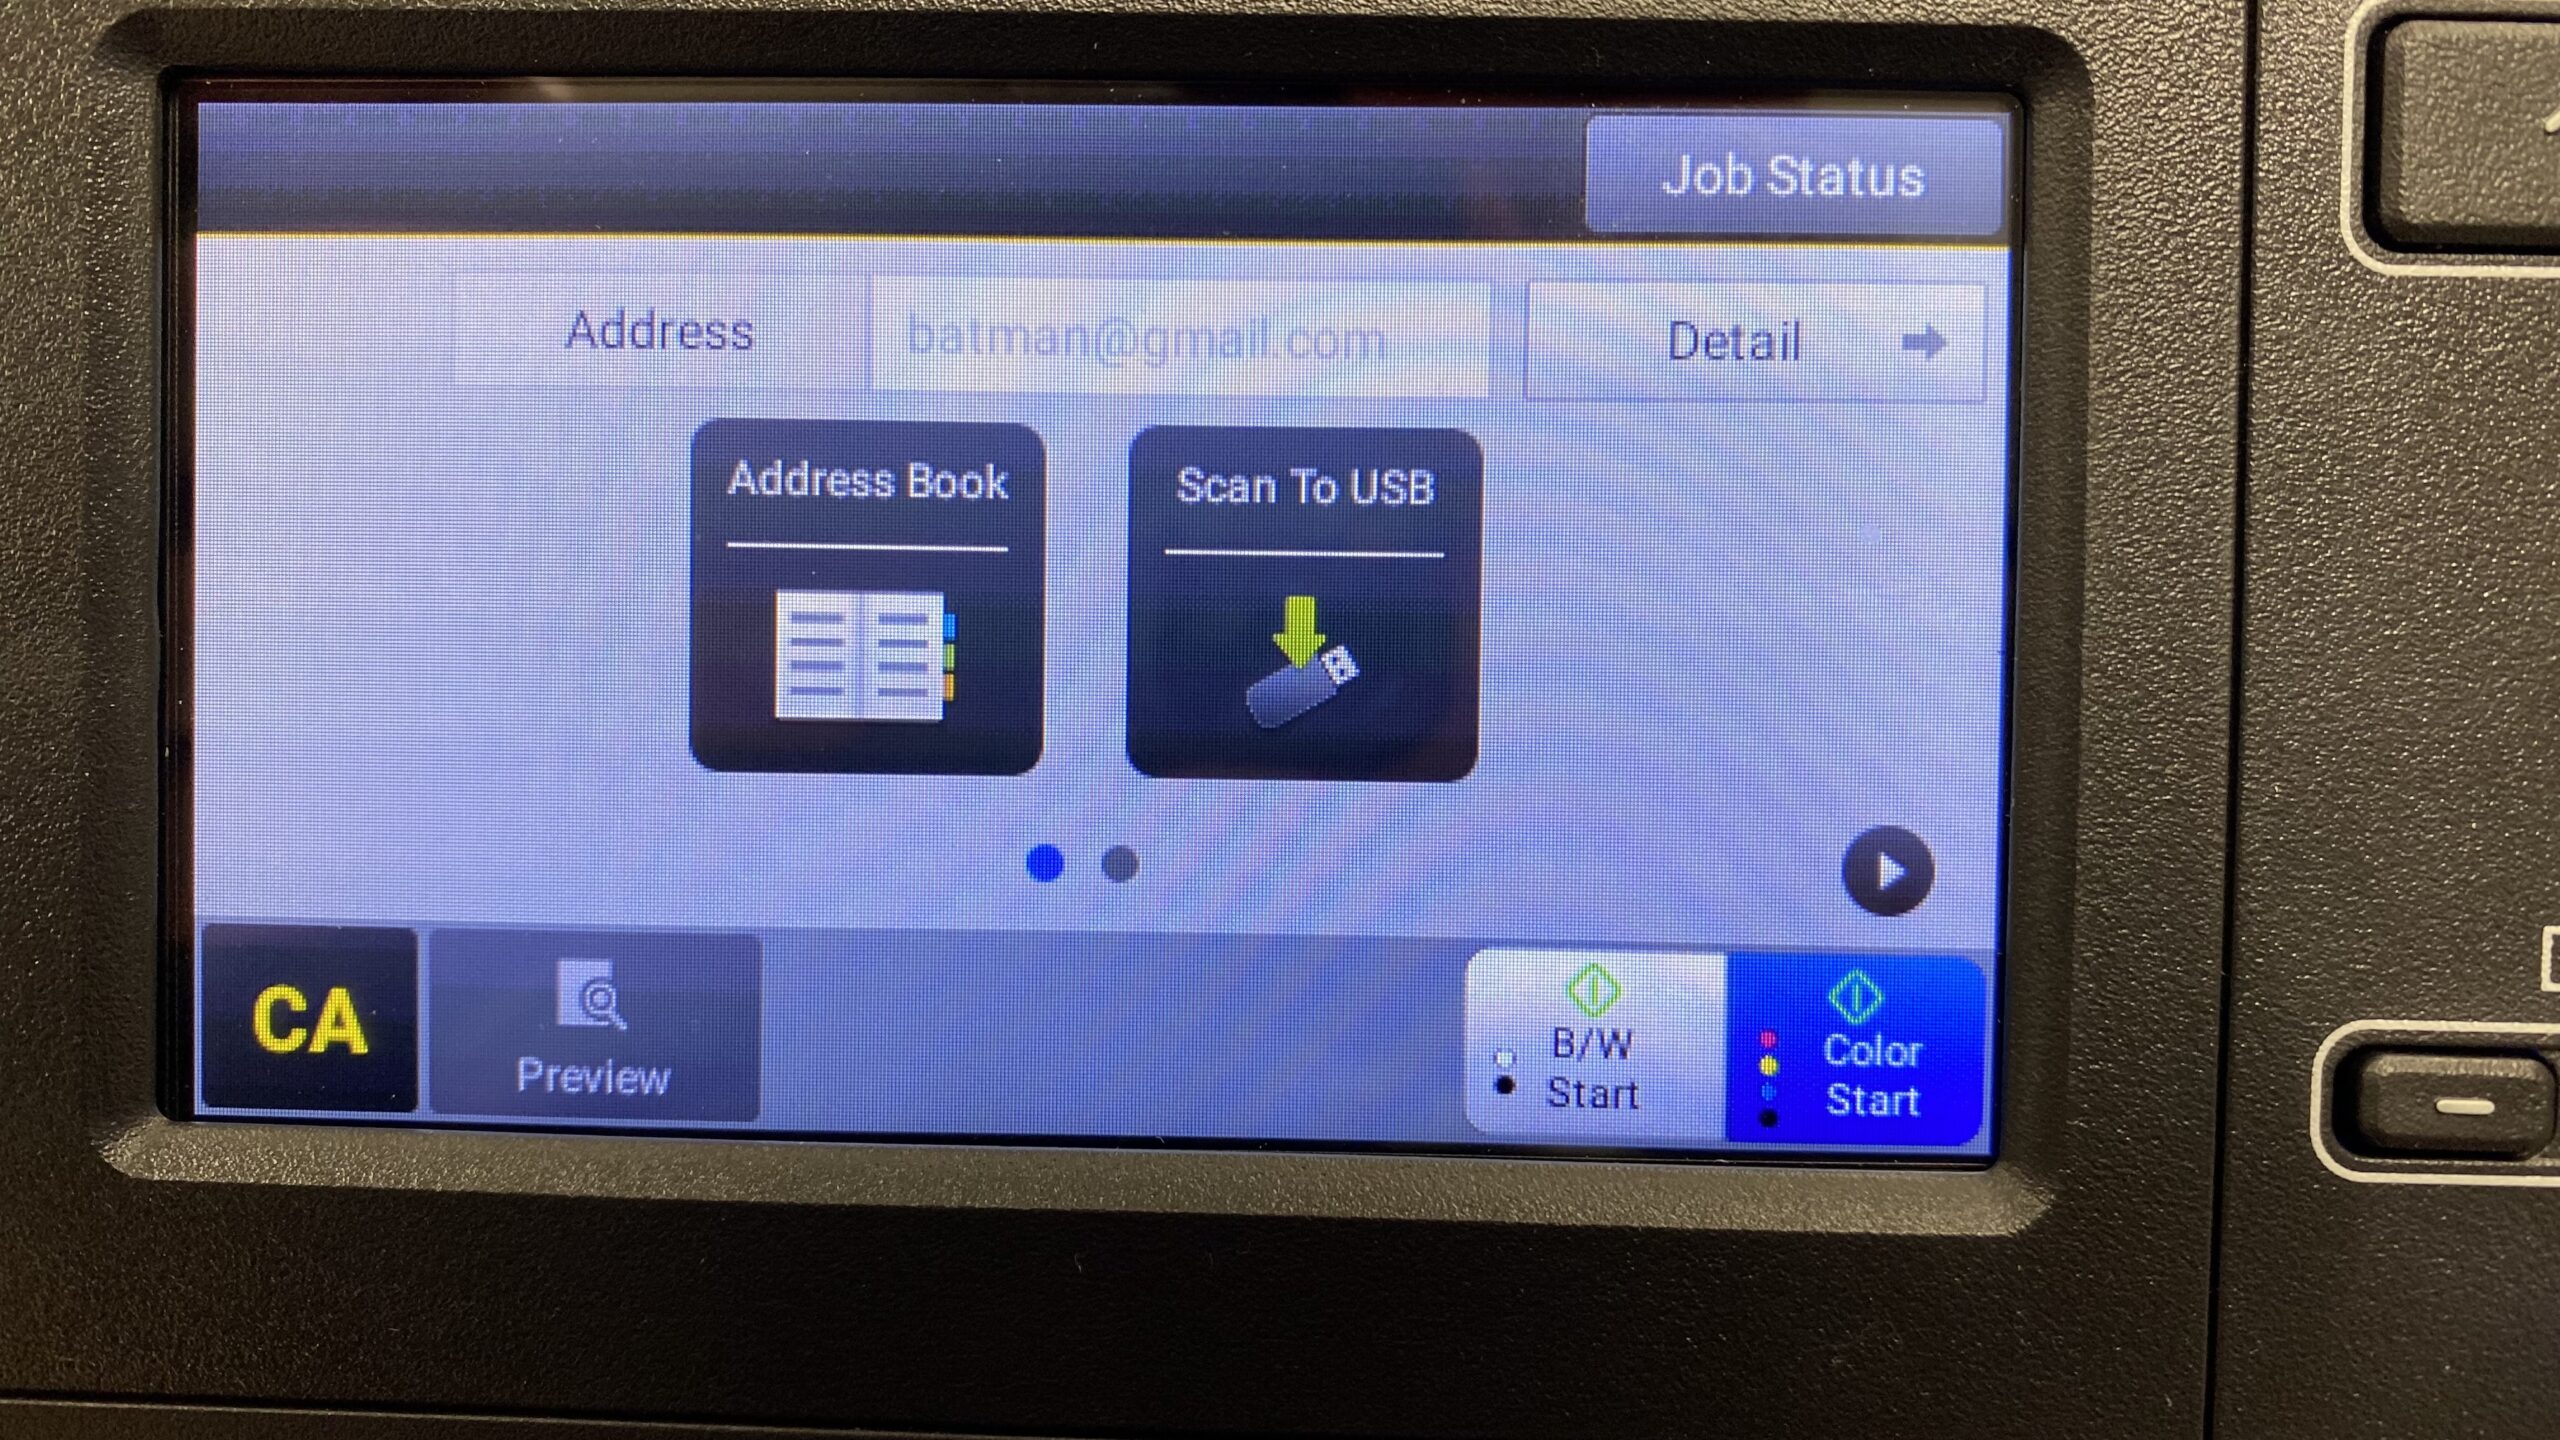
- Touch Either the B&W or Color Start button in the bottom-right corner of the touch screen to begin the scan.
281-645-4036