Is your color copier/printer/scanner 2016 or newer? Click here for updated instructions.
Time for a new copier? Request a free quote!
Sharp User Control
*To view and Reset the Counts back to 0, see the instructions in blue at the bottom of the page.
These are instructions for how to setup Sharp user control / account control in a Sharp copier. The end result of this procedure will require a code / user name and password to Copy, Print, Scan, or Fax. This procedure will show you how to activate user control, create authority groups, create users, view / manage the number of pages used by each user, and reset the counts for auditing purposes. Once User Control is activated computers that currently print to the Sharp MFP will require a User Code in the print driver to resume printing activity.
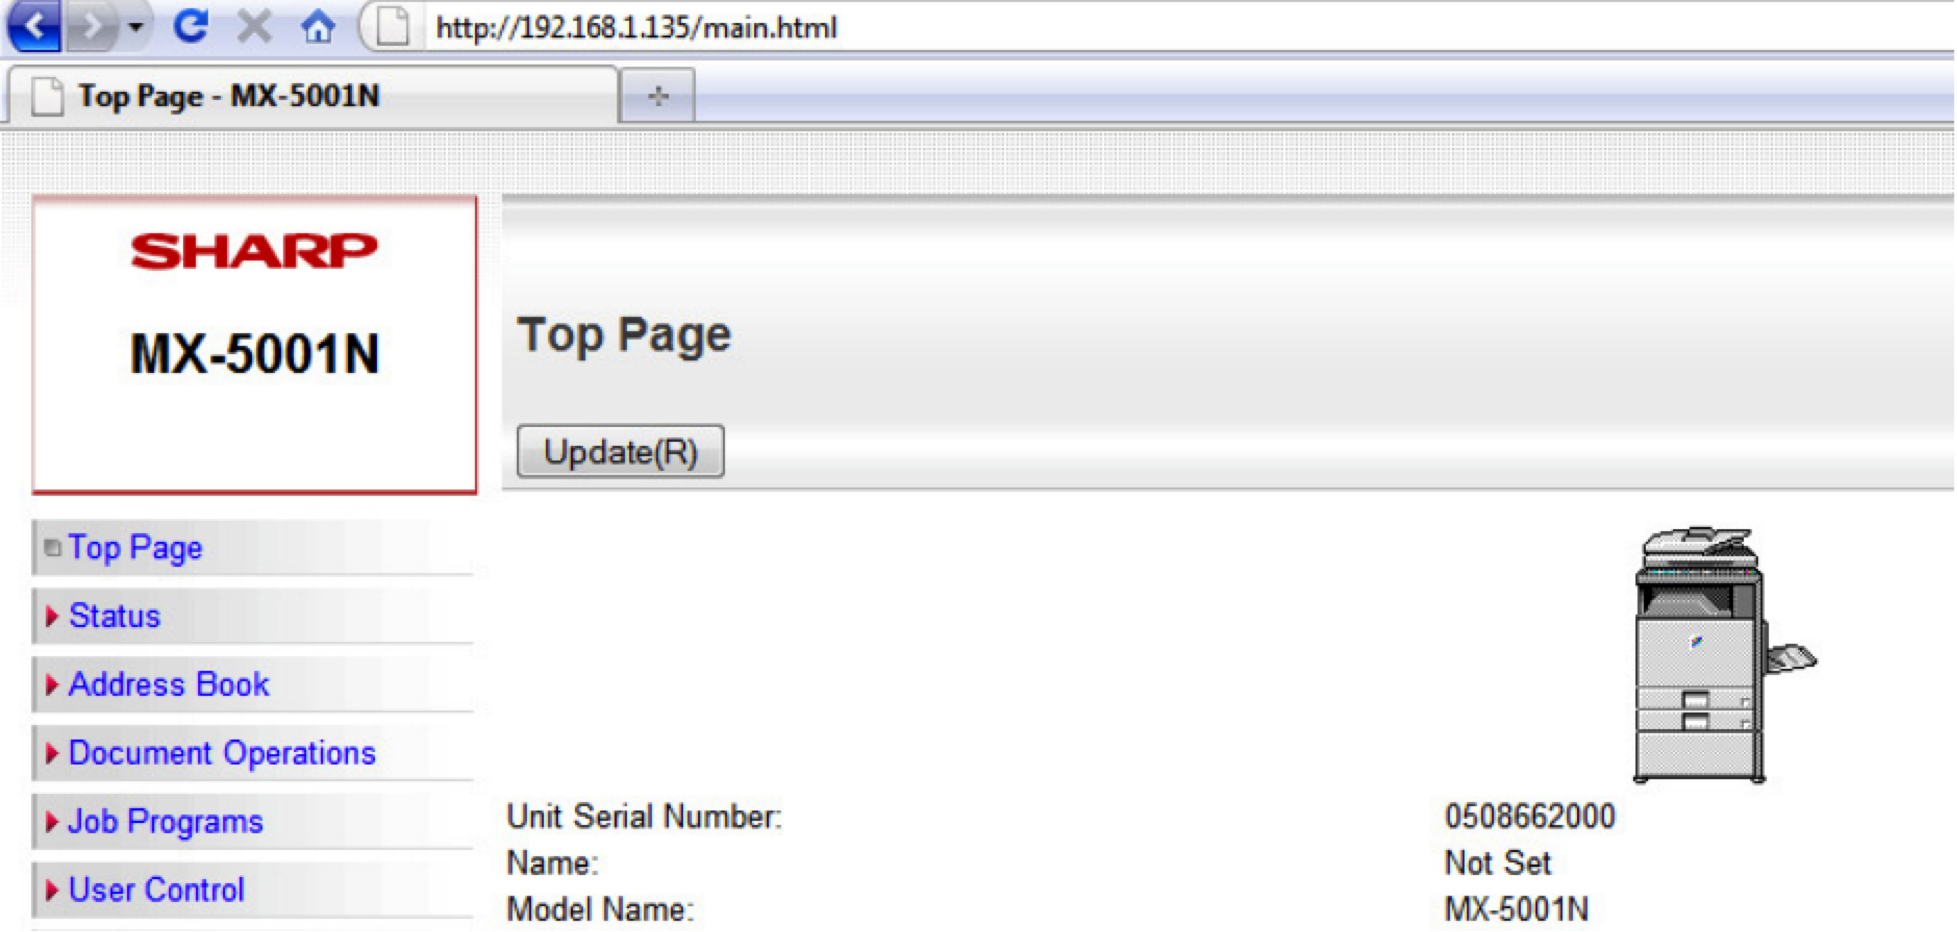
- Once the Sharp MFP is on the network you can access the web page by typing the IP address of the machine into a web browser. The IP address can be obtained by printing a NIC page from the MFP touch-screen.

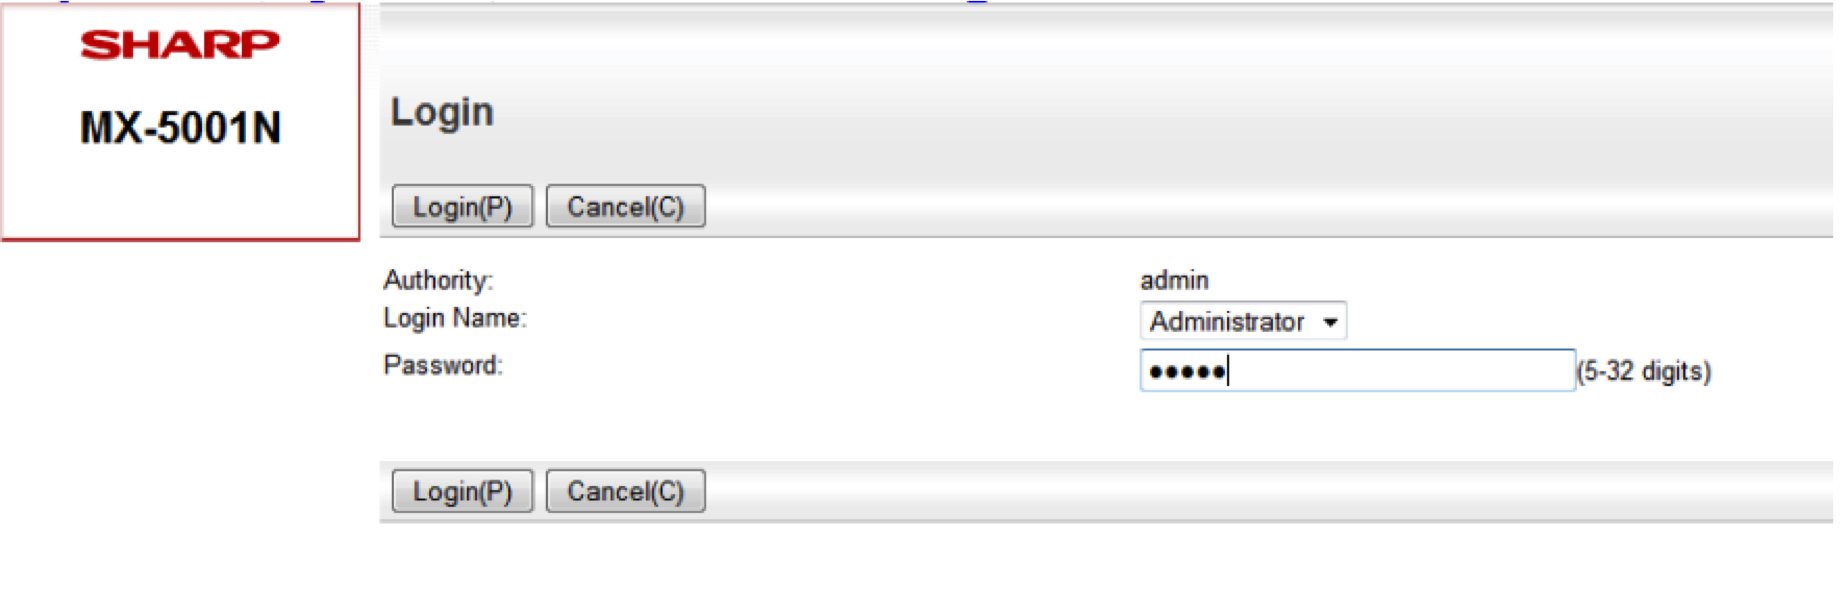
- Open a web browser and enter the IP address in the address bar, then click “User Control” on the left. The password by default is “admin” without the quotes.

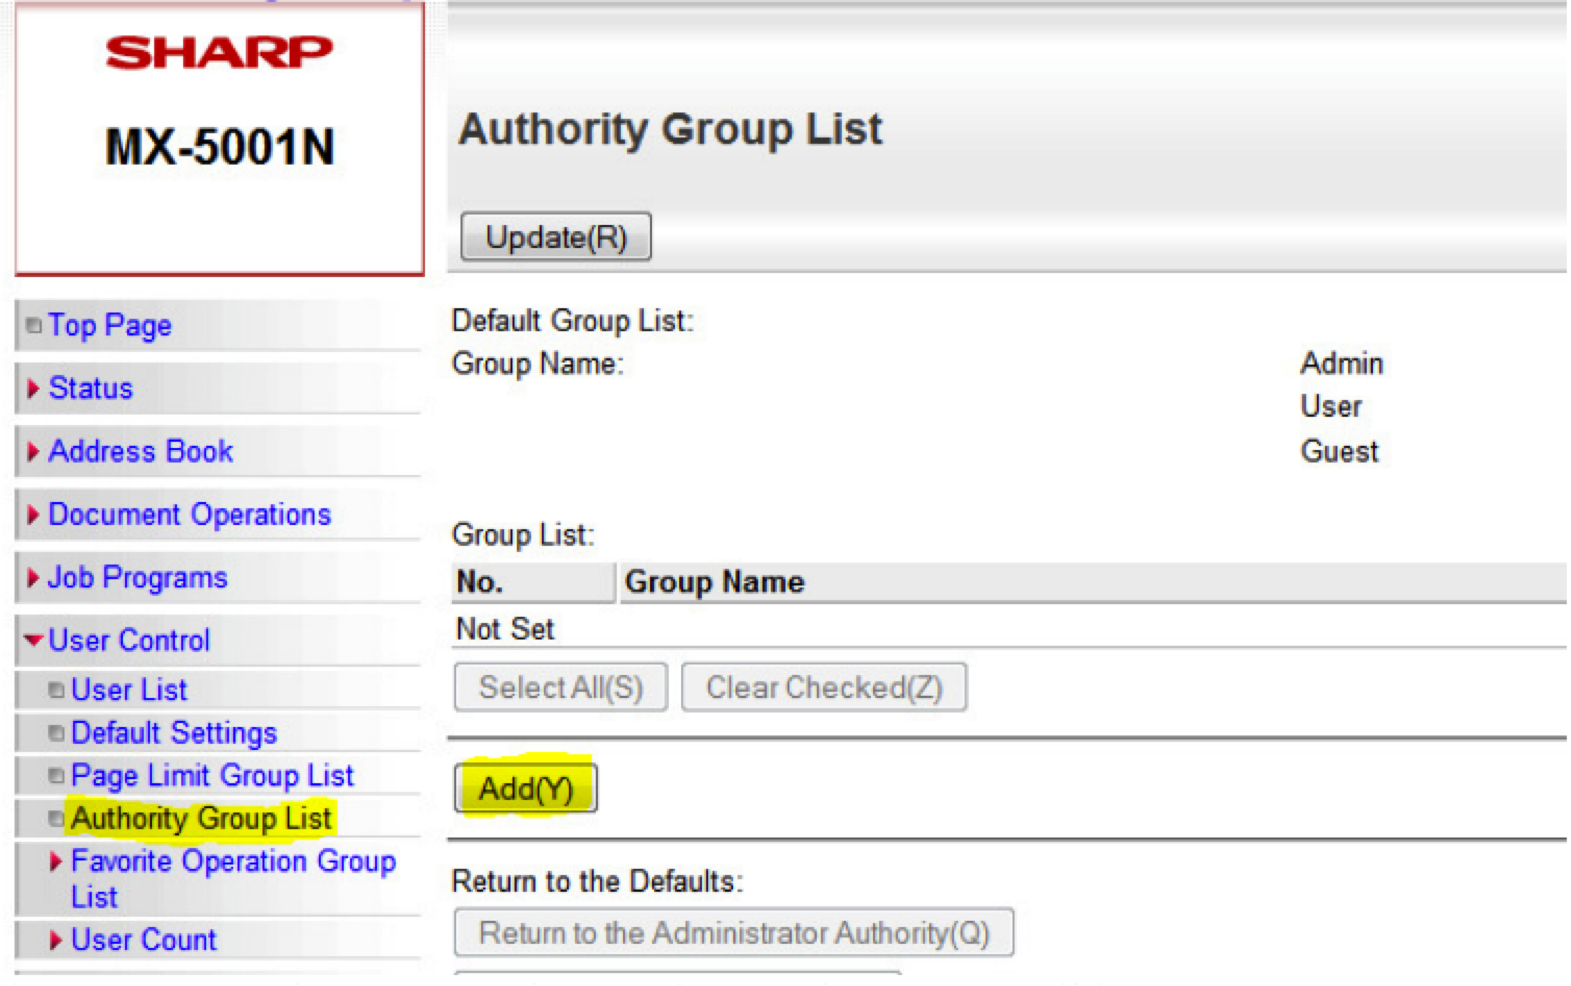
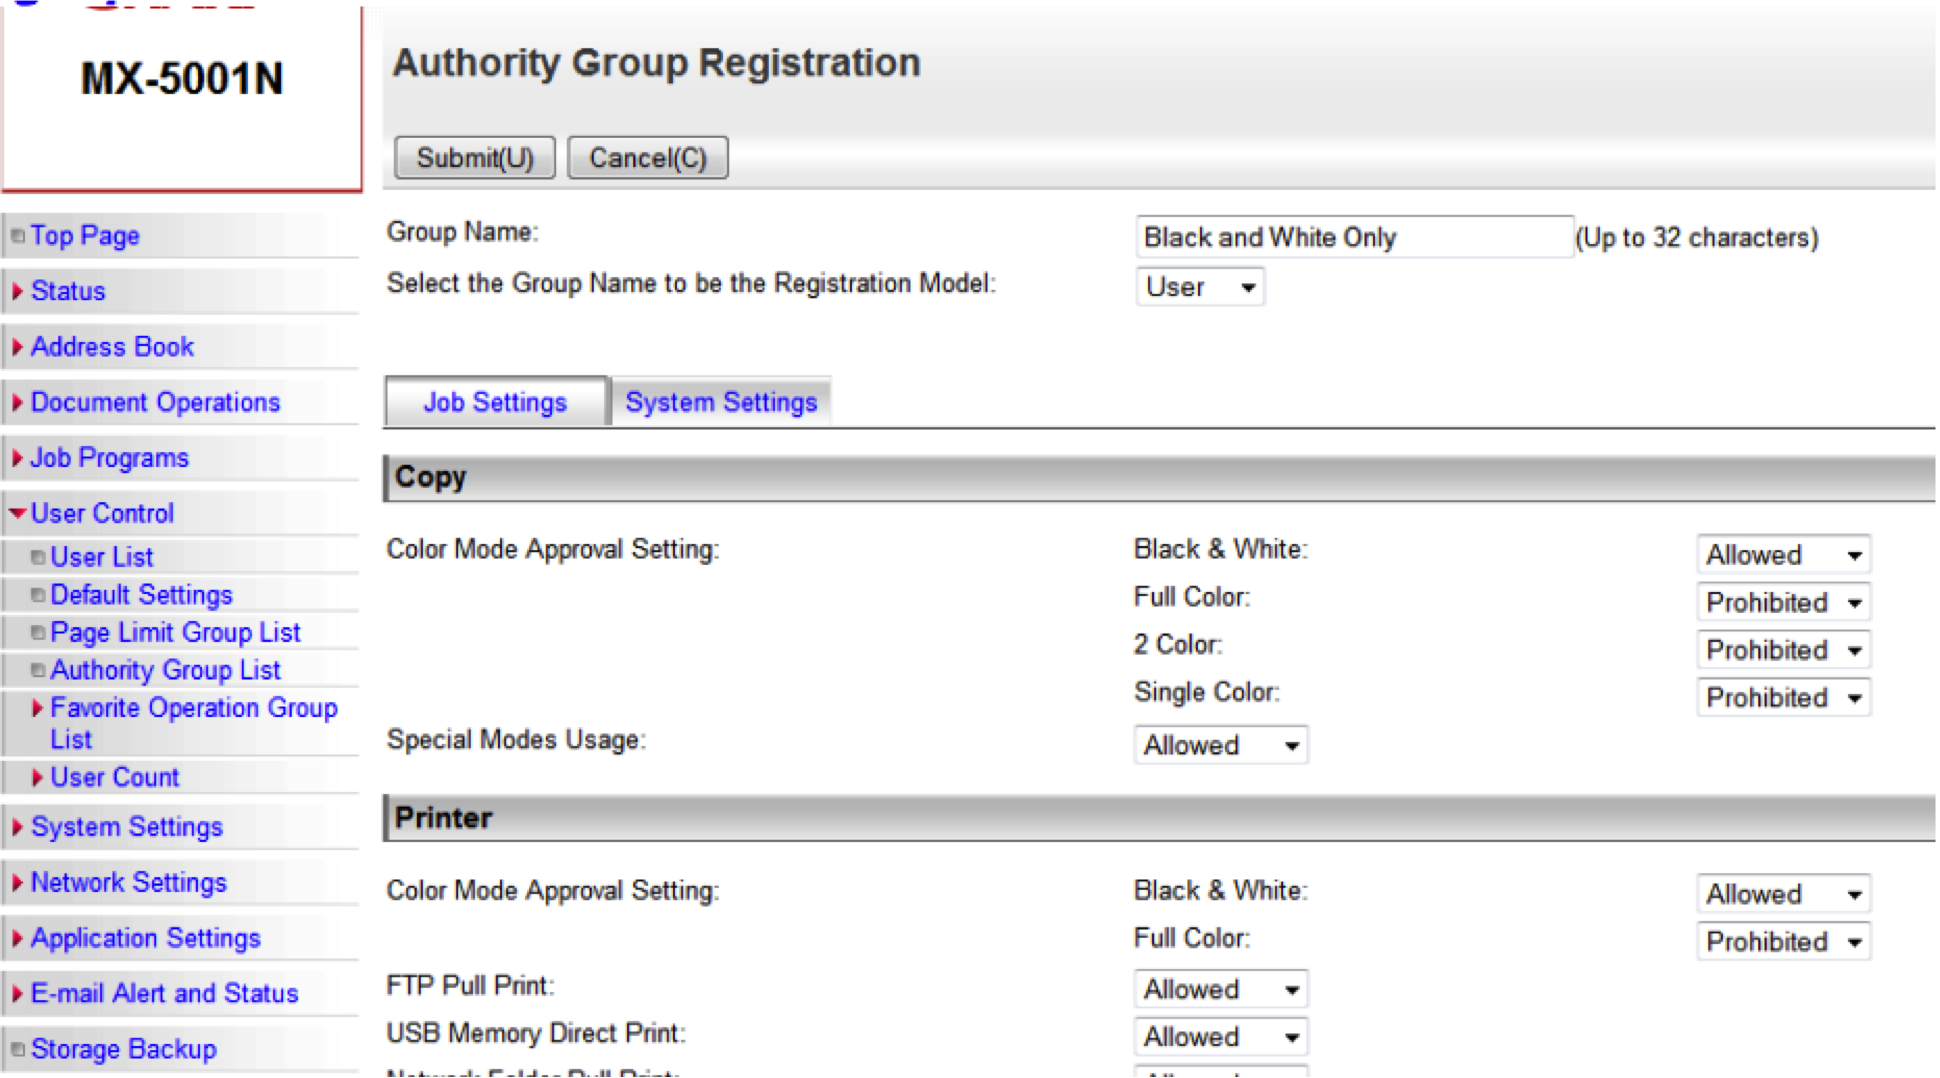
- Click “Authority Group List” on the left, then click “Add.” These groups designate what authority the users will have. You can create several different authority groups depending on how much control you need over the users. Typically we create a group for users with access to only Black and White printing, and a group for users who will have access to both Color and Black and White.

- Once you have created your Authority Groups it is time to activate “User Control.” Click on “Default Settings” on the left menu. “Enable” user control, choose your authentication type(user number is recommended), and check the “Disable of Printing by Invalid Users” if you want only someone with a code to be able to print to the machine. “Submit” the settings.

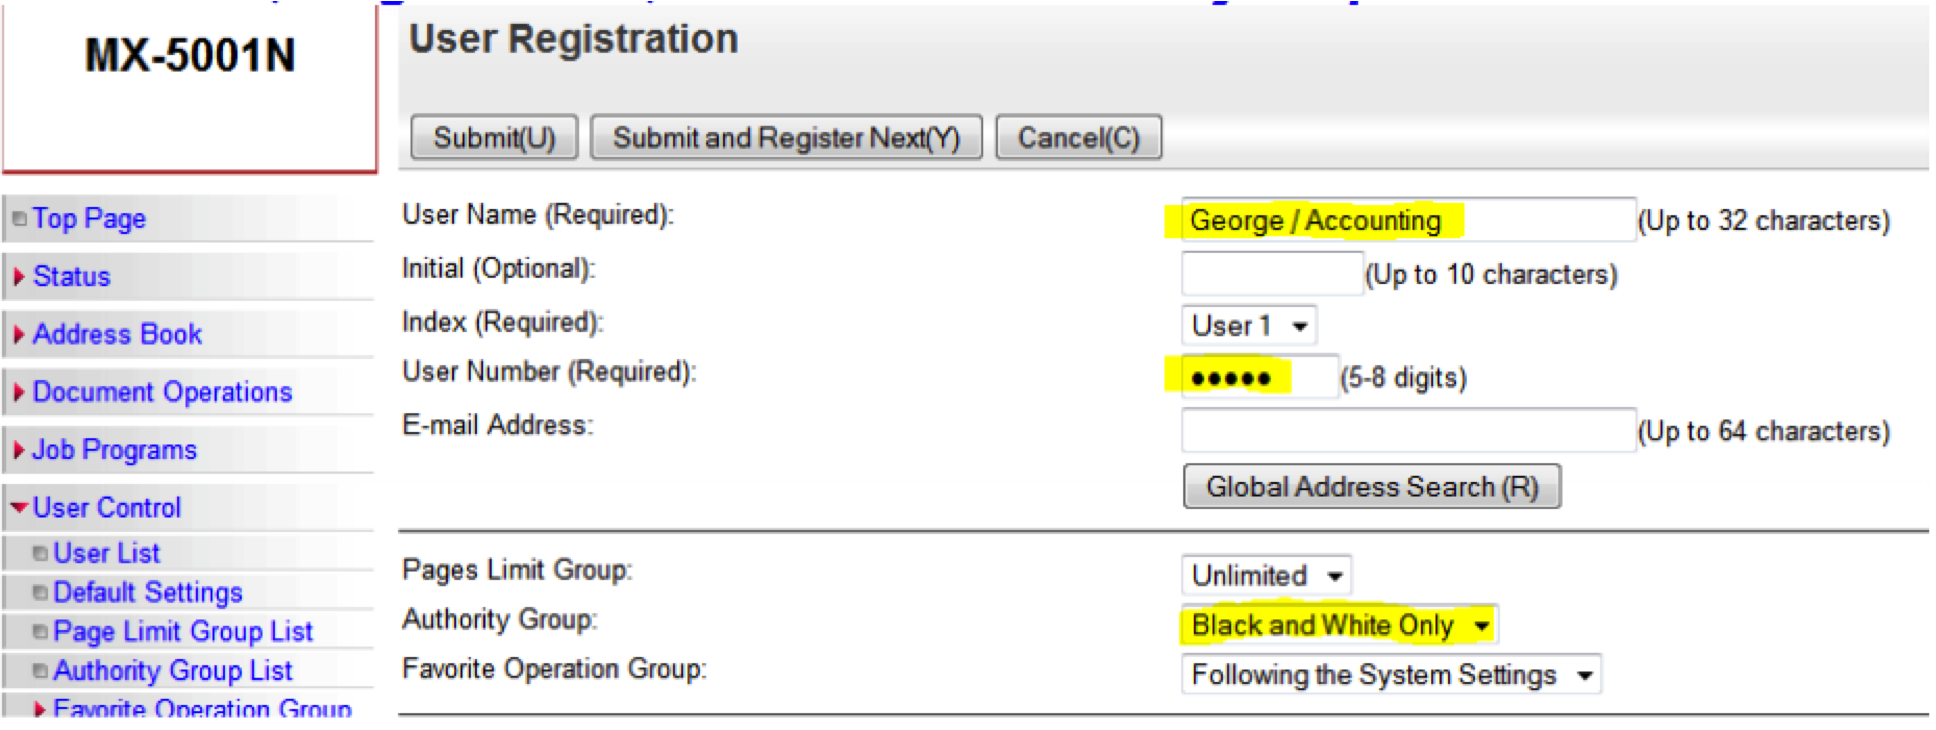
- The next step is to create the Users. Click “User List” on the left menu. Since we activated “User Control” another login is required. Click the “Administrator Login” button, the password is “admin” Once you’re on the “User List” page, click “Add” Name the user, assign their code, and choose their “Authority Group.” “Submit.”


Once the Users have been created you must enter their code into the properties of their print driver so they can continue printing activity.
1. Go to the Printers menu in the Control Panel
2. Right click on the Sharp MFP, and go to Properties (Windows 7: Printer
Properties)
3. Click Printing Preferences
4. Go to the “Job Handling” tab, check “User Number” and enter the desired user’s code.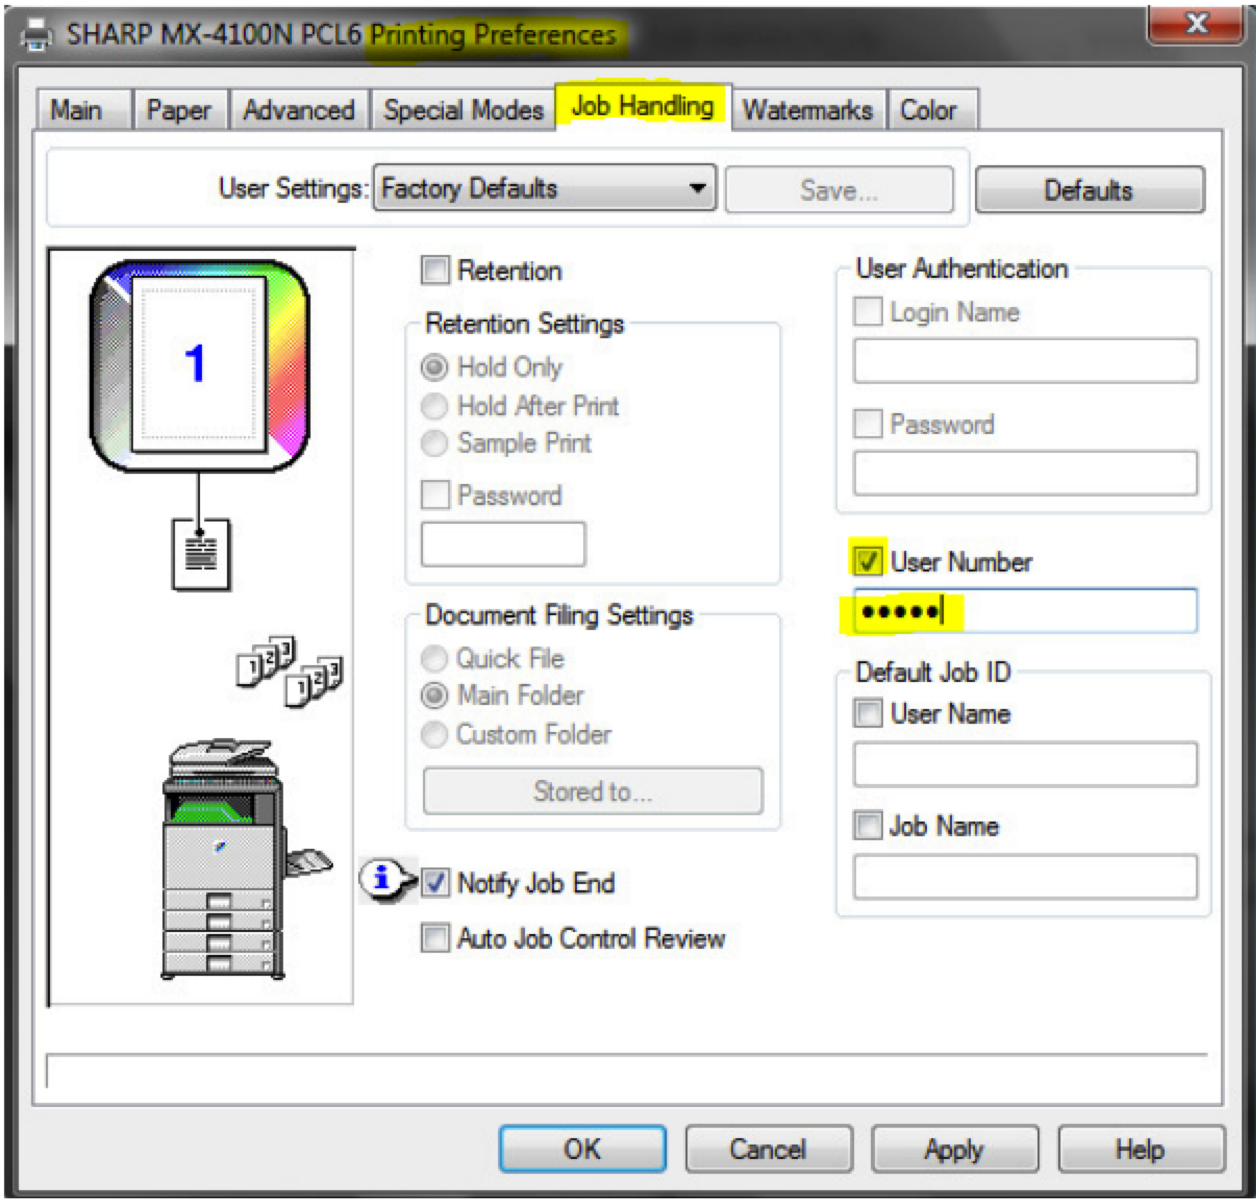
At this point the users are ready to continue all activity on the Sharp MFPs with their code entered.
This procedure is to View/Reset the User Codes from the web interface.
- On the web interface, login as Administrator.
- Click “User Control” on the left menu.
- Click “User Count” on the left menu.
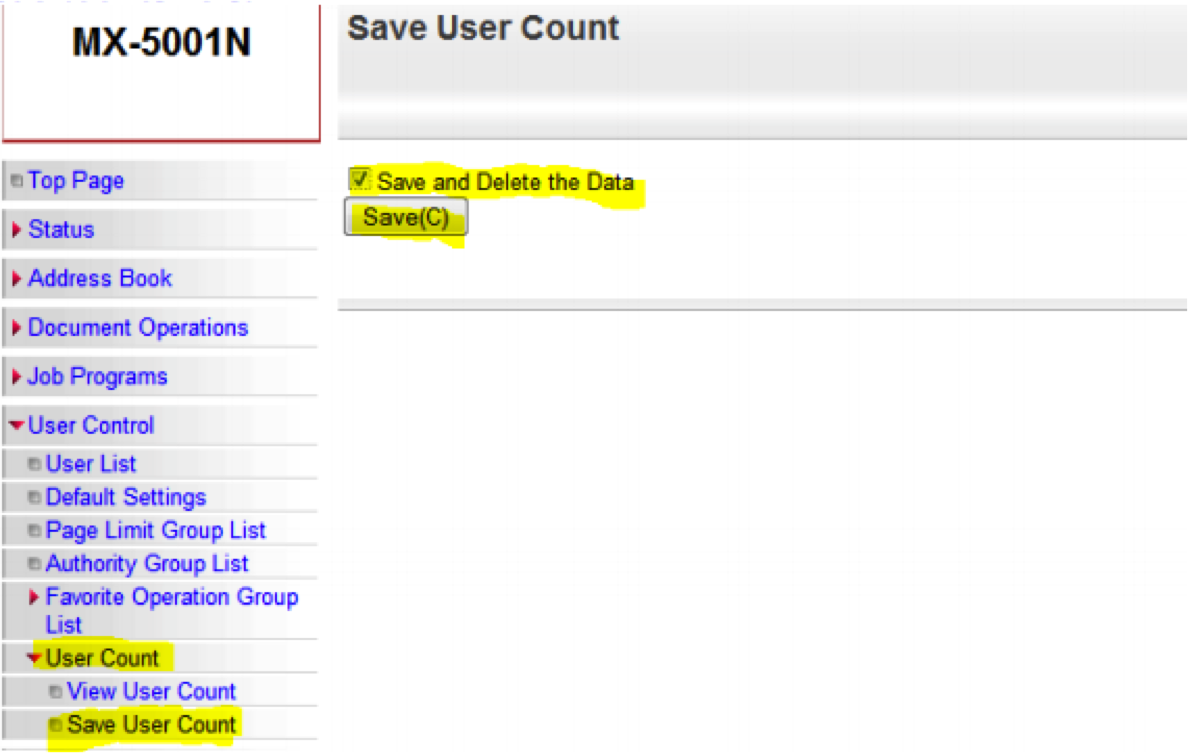
- Click “Save User Count” on the left menu.
- Check the “Save and Delete the Data” box and click “Save.” This will export the data into an Excel spreadsheet for viewing, and will also reset all of the counts for each code back to zero.

This information will apply to all of the models listed here, and most of the models found on SharpUSA.com: MX-4111N MX-4110N MXM364N MX5110N MX5111N MX3610N MX2610N MX3110N MXM283N MXM363N MXM453N MXM503N MX6200 MX4501N MX5001N MX2700N MX2600N MX3100N MX2300N MX2615N MX3115N MX2310U MXC311 MXC402 MXB401 MXB402 MXB402SC MX6240N MX7040N MXM314N MXM354N MXM623N MXM753N MX2640N MX3140N MX3640N MX5140N MX4140N MX4141N MX5151N MXM365N MXM465N MXM565N MXM354N MXM464N MXM564N