Now that we have had some time to get acquainted with the new Sharp MX-3070N | MX-3570N | MX-4070N, we’ve located are a lot of little features that are very helpful to help streamline your workflow. Adding to the terrific platform of the previous series, the new Sharp Phoenix has the most powerful Sharp Copier operating system of all time. Not only is the engine a very reliable copier, it’s easier to use than ever.
Administrator Control
The print drivers and web interface have been modified to make managing your Sharp system simpler. It has a fresh look that is very intuitive so a new user can master it quickly, but it’s similar enough to the older style that veterans will know where to look for all of their typical settings. There is also a very handy sitemap(button is always in the top-right corner of the web interface) that makes all setting menus appear on the screen in quick link format. This is a game changer for the folks who are constantly adjusting settings within their Sharp MFP.
Scanning File Formats
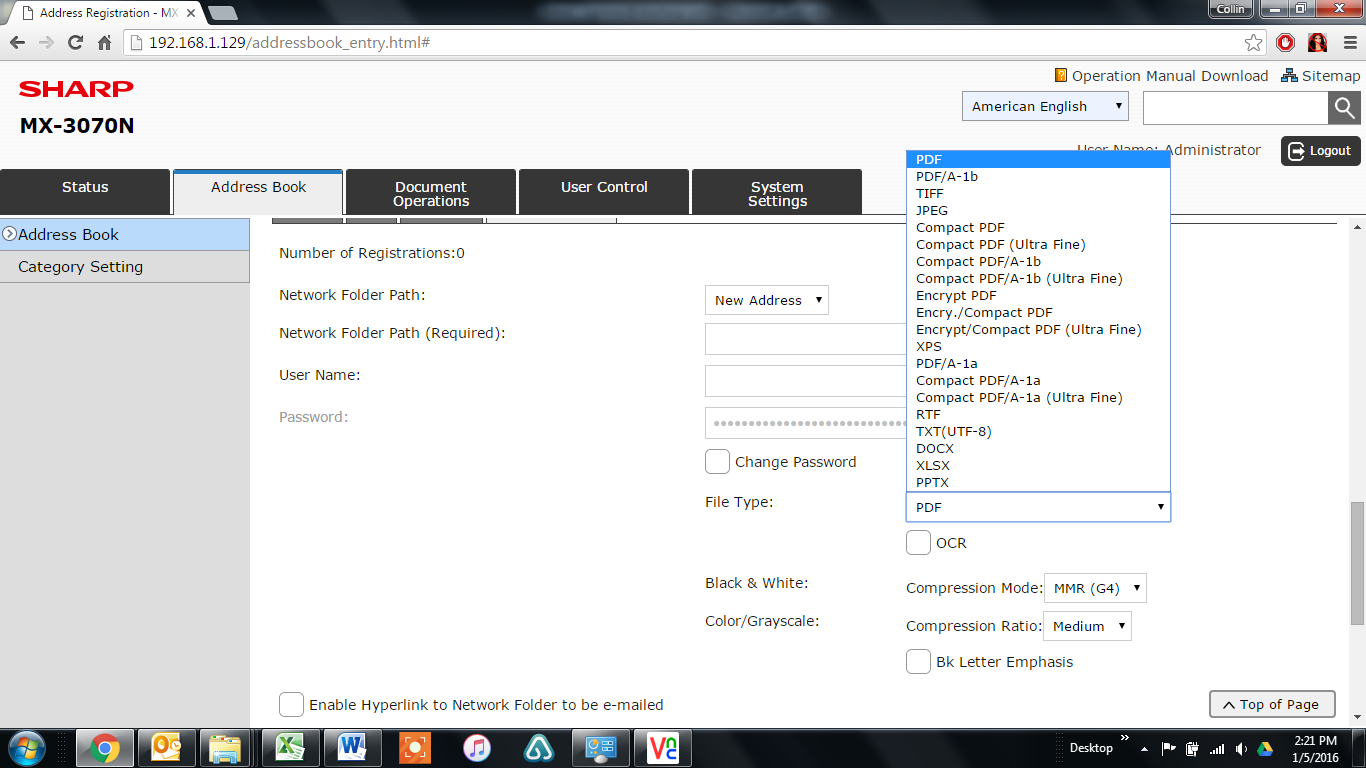
Perhaps the most impressive new features of the Sharp MX-3070N, MX-3570N, and MX-4070N come by way of the several new scanning file type options. You can scan your typical PDF, TIFF, and JPG…but Compact and encrypted PDFs are standard options, OCR(optical character recognition) is built-in for PDF, Microsoft Word Docs, Microsoft Excel Spreadsheets, and Microsoft Power Point Presentations. NO SOFTWARE REQUIRED. The OCR engine is more robust than what came packaged along with Sharpdesk, Sharp’s scanning program.
Machine Status Monitoring Additions
Sharp has incorporated a toner percentage monitor into the Home Page static menu at the bottom of the page. Now you can keep a close eye on your toner and make sure you have a spare of the color needed when it starts to get low. You can also view the toner percents and the Sharp printer’s total count by double tapping the Home button to the right of the touch screen display.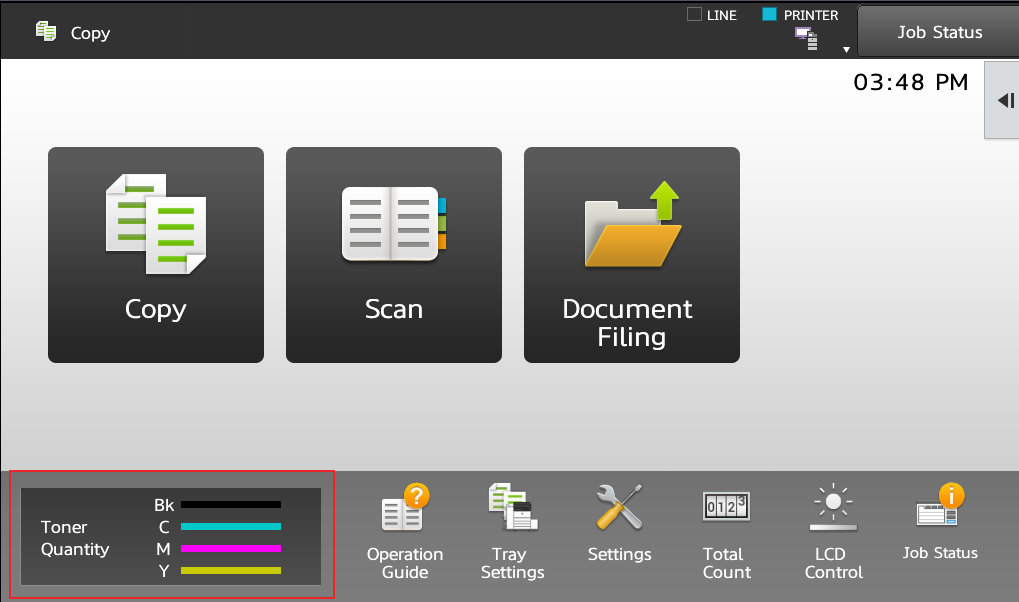
Having connectivity problems? There is a new icon that will appear in the top-right corner of the home screen if your network cable is unplugged and the machine doesn’t have any network connectivity. This is a simple solution to the age-old opening question that troubleshooters always start their routine with, “Is the network cable plugged in?” This will help the non-techy folks help the techy folks. 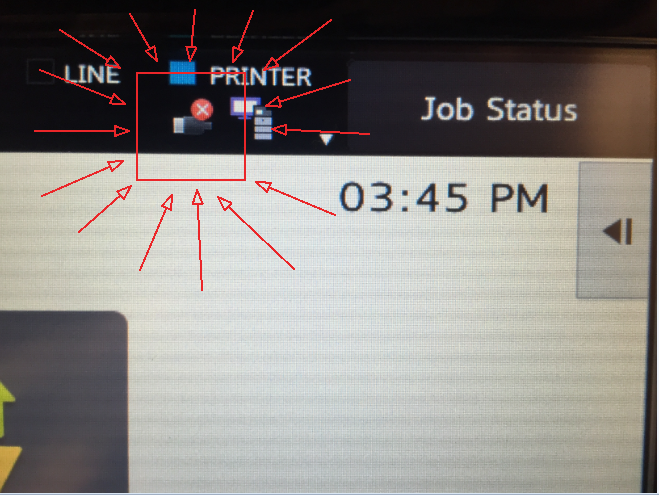
Cloud Scanning Options
Scanning to cloud based solutions has been a pain to setup in the past, the new Sharp MX-3070N, MX-3570N, MX-4070N have options available right from the home screen to integrate with your cloud based storage solutions. Google Drive, OneDrive, and SharePoint Online are “the big 3” when it comes to cloud storage, and they’re integrated.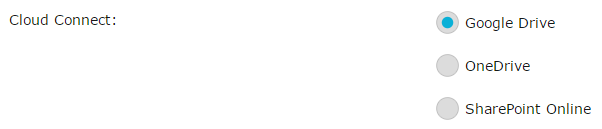
Sharp MX-3070N | MX-3570N | MX-4070N In Summary
We are very excited to start replacing the Sharp MX-2610N, MX-3110N, MX-3610N with this system. We already love them, I’m sure the end users will find them simpler to use, easier on the eyes, and a better copier experience over all. If you’re searching for a top-rated and super reliable copier in Houston, contact us today for a quote. We can deliver for free the next-day in most cases!
How do I print the total count for this machine?
Touch Settings on the home screen, then touch System Settings on the left menu. It will be displayed on the screen at this point, if not, touch Total Count on the left menu.
Can I scan via FTP, choose TIFF, and get 300 x 300 dpi?
Yes, you can setup a FTP destination in the address book and default it to TIFF, and set the scanning up to be defaulted at 300 x 300 DPI.
Is there a way to set this scanner to DEFAULT to 2 sided booklet AND PDF OCR scanning? We have to press 13 buttons to get both of these to enable and scan each time we scan something.
Yes there is, Dave.
1. Go to the device’s web page by typing the IP address into a web browser.
2. Click the login button at the top-right corner and login as admin.
3. click the system settings tab
4. click the image send settings button
5. click the scan settings button
6. on the initial status page, scroll down and check the OCR checkbox under scanner common, then scroll down and check it in the email section as well
7. click submit – this defaults to OCR
8. click condition settings on the left menu
9. scroll down and check the Auto Scan Setting and check the Set Image Orientation box and put it on 2-sided. uncheck the other two boxes in the auto scan setting area and click submit at the bottom of the page.
Hope this helps.
If I check the box to “blank page skip”, the scanner prompts us every scan if it is ok to scan and we have to push ok. Turning this off makes the prompt go away but we need it to skip blank pages. Thoughts?
You can default to skip the blank pages and it will ask every time, or you can use the Others area and turn it on for an as-needed basis. There isn’t a way to skip that prompt unfortunately.